Mastering ghost mannequin photography involves selecting the right mannequin, preparing your products, positioning and lighting setup, capturing multiple angles, and editing your photos to create a lifelike effect. This step-by-step guide will help you achieve professional-looking ghost mannequin photos that showcase your clothing products effectively.
Whether you’re a professional photographer or a business owner looking to enhance your product images, mastering ghost mannequin photography is essential for creating visually appealing and engaging visuals for your audience. Let’s delve into the details of this technique and learn how to produce compelling ghost mannequin photographs.
Introduction To Ghost Mannequin Photography
Ghost mannequin photography is a technique used by retailers to showcase their clothing products in a visually appealing and attractive way. This technique involves using a mannequin to display clothing items and then removing the mannequin in post-processing to create a “ghost” effect. Retailers swear by this technique as it allows customers to see how the clothing fits and looks on a model without the distraction of a physical mannequin.
The magic behind the invisible mannequin effect lies in the post-processing software. Photoshop is the go-to software for this technique, allowing photographers to easily remove the mannequin while preserving the shape and texture of the clothing. To master ghost mannequin photography, it’s important to choose the right mannequin, use the correct equipment, and prep your products beforehand. Once you have taken your photos, editing and enhancing them in post-processing software is key to achieving the desired effect.
Selecting The Right Mannequin
|
When it comes to mastering ghost mannequin photography, selecting the right mannequin is crucial. The perfect mannequin should meet specific criteria to achieve the desired effect. One consideration is whether to use an adjustable or fixed mannequin. An adjustable mannequin allows for flexibility in positioning, making it easier to achieve the desired shape and fit for the garment. This type of mannequin is ideal for showcasing clothing with different sizes and styles. On the other hand, a fixed mannequin offers stability and consistency. It is best suited for photographing garments that do not require adjustments or have a standard shape and fit. |
Essential Equipment And Setup
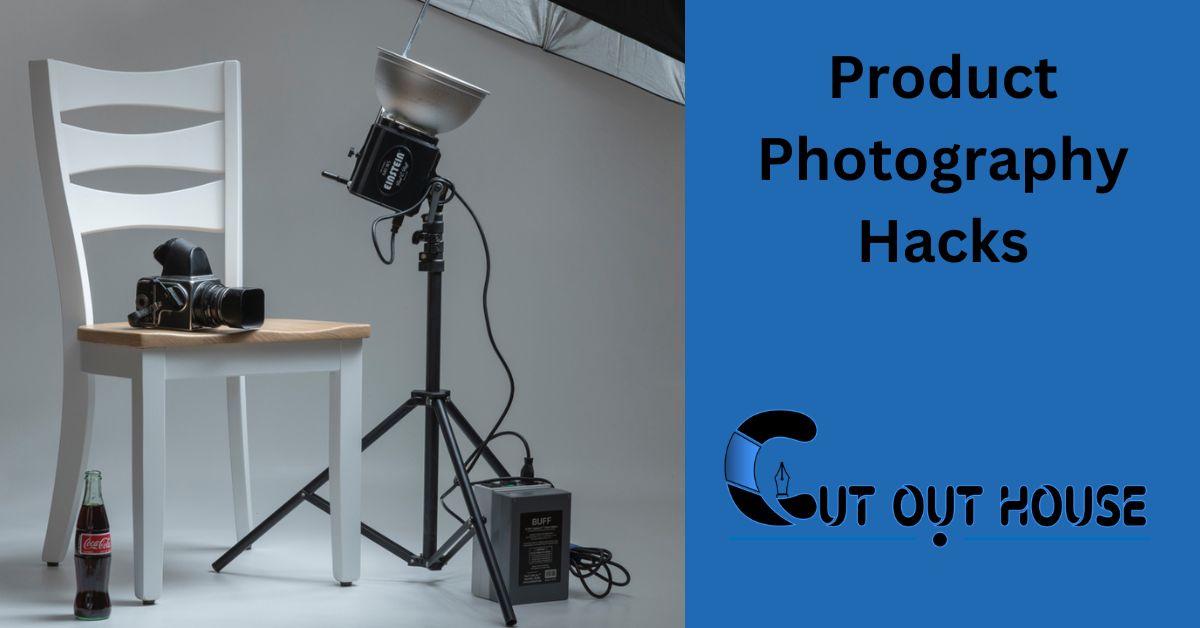
For camera and lens recommendations, a DSLR with a standard zoom lens is sufficient for ghost mannequin photography. A lens with a focal length between 35mm and 50mm is ideal, allowing for a good depth of field and minimal distortion. As for lighting and studio arrangements, a two-light setup with diffusers provides even illumination and minimizes shadows. Position the lights at 45-degree angles to the mannequin and adjust their distance to achieve the desired effect. A clean, clutter-free studio space with a neutral backdrop is essential for achieving professional-looking results.
Prepping Your Products For Photography
When prepping your products for ghost mannequin photography, it’s crucial to ensure the garments are properly prepared for the shoot. This involves ironing the clothing to remove any wrinkles and creases, as well as styling them to achieve the desired look. Ironing the garments meticulously is essential to create a seamless and professional appearance in the final photographs. Additionally, styling the clothing on the mannequin in an attractive and natural way can significantly enhance the overall visual appeal of the images. By paying attention to these garment preparation techniques, you can elevate the quality of your ghost mannequin photography and showcase your products in the best possible light.
Crafting The Perfect Scene
Learn how to master ghost mannequin photography with this step-by-step guide on crafting the perfect scene. From choosing the right model or mannequin to editing and enhancing your photos, this guide covers everything you need to know to create stunning, professional-looking images that will showcase your products in the best possible light.
Crafting the Perfect Scene
When it comes to mastering ghost mannequin photography, choosing the right background is crucial for clarity. Opt for a plain, neutral-colored backdrop to avoid any distractions. Additionally, make sure to position your mannequin for optimal shots. Place it in a way that highlights the garment’s features and ensures a natural fit. Declutter your space to avoid any unwanted reflections or shadows in the final image.
In conclusion, background choices and mannequin positioning play a vital role in crafting the perfect scene for ghost mannequin photography. These simple steps can make a significant difference in the final product, providing a clear and lifelike image of the garment.
Camera Settings And Shooting Techniques
When it comes to camera settings and shooting techniques for ghost mannequin photography, getting the right exposure is crucial. You need to ensure that your product is well-lit and that the details are visible. Angle varieties are also important as they can help showcase your product in different ways. Experiment with different angles to find the ones that best highlight your product’s features.
Post-production Wizardry
When editing ghost mannequin photos, basic retouching skills are essential. Remove the mannequin and model’s body from the image using advanced Photoshop techniques. This creates a seamless look for the garment. Utilize layers and masks for precise editing. Additionally, adjust discrepancies and use the burn tool to perfect the image. Choosing the right model or mannequin is crucial for ghost mannequin photography. Ensure proper equipment and setup, then photograph and edit your garments to achieve professional results.
Final Touches And Quality Control
When inspecting images for consistency, ensure that the lighting and color balance are uniform throughout. Check for any editing errors and imperfections that may affect the final result. When preparing photos for e-commerce platforms, optimize them for fast loading and high resolution. Use descriptive filenames and alt tags to improve searchability. Quality control is crucial to maintain a professional image and build customer trust. Finally, ensure that the final touches are flawless before publishing.
Bonus Tips And Tricks
When it comes to mastering ghost mannequin photography, speeding up your workflow can greatly improve efficiency and productivity. Here are a few tips to help you streamline your process:
- Organize your workspace: Declutter your space and set up a dedicated area for your photography equipment.
- Prep your products: Before shooting, make sure your garments are properly prepared and free from any wrinkles or imperfections.
- Use the right equipment: Invest in high-quality cameras, tripods, and lighting equipment to ensure professional results.
- Shoot in batches: Group similar products together and shoot them in one session to save time and maintain consistency.
- Edit efficiently: Familiarize yourself with editing tools like Adobe Photoshop to remove mannequins and make adjustments.
To make your ghost mannequin photography stand out from the competition, consider adding creative variations to your shots:
- Experiment with different angles and perspectives to showcase unique features of the garments.
- Play with lighting techniques to create dramatic effects and highlight specific details.
- Include close-up shots to showcase fabric texture and intricate designs.
- Consider incorporating props or accessories that complement the garments.
- Try different backgrounds or settings to add visual interest and create a cohesive brand aesthetic.
Frequently Asked Questions
How To Make A Ghost Mannequin Photo?
To make a ghost mannequin photo, follow these steps: 1. Choose the right model or mannequin. 2. Use the right equipment and setup. 3. Photograph your products. 4. Prep your products. 5. Declutter your space. 6. Set up your selfie tripod.
7. Photograph your garments. 8. Edit and enhance your photos in Photoroom. By following these steps, you can achieve professional-looking ghost mannequin photos for your products.
What Is The Ghost Mannequin Technique?
The ghost mannequin technique is a photography method used primarily for capturing images of clothing. It involves placing a garment on a mannequin to create a lifelike effect in the resulting image. This technique is commonly used in commercial photography to showcase clothing products.
How To Shoot A Mannequin?
To shoot a mannequin for photography, choose the right model and equipment. Set up your studio space with proper lighting and background. Take multiple angles and edit the photos as needed. Use the ghost mannequin technique for a lifelike effect in the resulting images.
How To Remove Mannequin From Photo?
To remove a mannequin from a photo, use Adobe Photoshop’s Magic Eraser Tool. Click on the mannequin to automatically remove it while preserving the background. Fine-tune with the Eraser or Brush Tool if needed. This technique is commonly used in ghost mannequin photography for a lifelike effect.
Conclusion
Mastering ghost mannequin photography is essential for showcasing clothing products in a professional and visually appealing way. By following the step-by-step guide provided in this blog post, you will learn how to choose the right mannequin, set up your equipment, photograph your products, and edit the images to create the desired ghost mannequin effect.
With careful attention to detail and practice, you can elevate your product photography and stand out from the competition. Start implementing these techniques today and watch your clothing images come to life.

