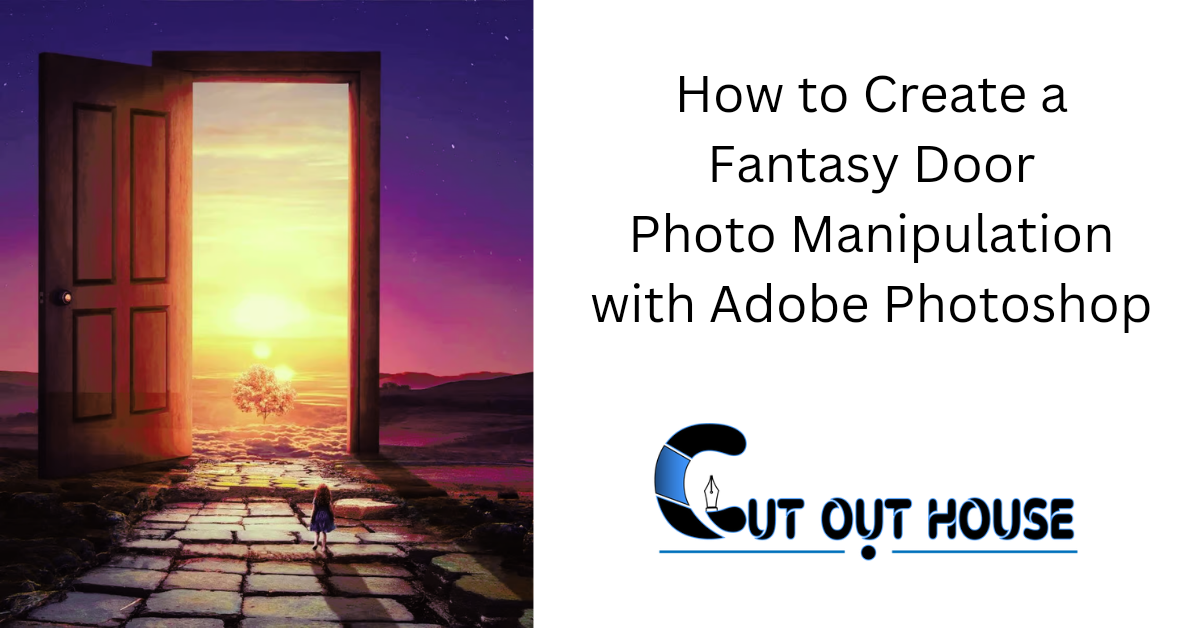
In this instructional exercise, I’ll tell you the best way to make a dream piece highlighting a young lady checking an initial entryway out. In the first place, we’ll construct the base scene with sky and scene pictures. Afterward, we’ll add the pathway, entryway, mists, and tree. From that point onward, we’ll import the kid and paint the light. We will use a number of adjustment layers to improve the final outcome. In this article we will talk about How to Create a Fantasy Door Photo Manipulation with Adobe Photoshop. Let’s go.
Step 1
Make another 1700×2000 px in Photoshop and fill it with white. Open the scene picture and drag it into the white material using the Move Instrument (V). Create a Smart Object from this layer.
Step 2
Click the second symbol at the lower part of the Layers board to add a cover to this layer. Actuate the Attractive Rope Apparatus (L) and select the sky part. On the layer cover, turn the forefront to white and snap Erase.
Step 3
Go to Channel > Hone > Unsharp Cover and fill in the accompanying settings:
Keep choosing Channel > Commotion :> Lessen Clamor and fill in the settings beneath:
Step 4
Go to Layer > New Change Layer > Variety Equilibrium and set it as Cutting Cover. Change the Midtones and Features values.
Select the round, soft brush with a black color by activating the Brush Tool (B) on this layer mask. The background and both sides of the ground can be erased with this brush.
Step 5
Apply a second layer of Color Balance adjustment to the ground to add some green and yellow color. On this layer veil, use a delicate dark brush to eliminate this impact on the foundation.
Step 6
To use the Gradient Tool, create a new layer below the landscape layer and press G. Pick Straight Inclination with the tones #31316f and #5c477b. Drag a line from the top to the base.
Step 7
Add a Variety Equilibrium change layer and modify the Midtones and Features settings to give the skyline a nightfall impact. Use a soft black brush to get rid of the sky’s top effect on this layer mask.
Step 8
Make a Bends change layer on top of the layers and increment the delicacy. Use a soft black brush to erase the left side and background of this layer mask, leaving only the light visible on the rest.
Conclusion
Congrats on finishing your excursion into the domain of Imagination Entryway Photograph Control with Adobe Photoshop! At this point, you’ve excelled at flawlessly coordinating dream components into your photographs, making a visual story that transports watchers to powerful domains. Keep in mind, the key falsehoods in specialized abilities as well as in tackling your imagination to reinvigorate your computerized manifestations.
As you keep sharpening your Photoshop ability, don’t avoid trying different things with various styles, surfaces, and otherworldly impacts. The universe of photograph control is tremendous and always advancing, offering vast open doors for imaginative articulation.
Presently, furnished with new abilities and a hint of sorcery, go forward and inject your future ventures with the charm you’ve found here. Your innovative excursion has just barely started, and the ways to inventive conceivable outcomes are completely open. Have fun tinkering!
FAQs
What devices do I really want for making a dream entryway photograph control in Adobe Photoshop?
You’ll require Adobe Photoshop programming, an assortment of imagination entryway pictures, essential photograph altering instruments like determination, concealing, and mixing choices, and innovative brushes or surfaces.
Can you suggest a source for high-quality images of fantasy doors?
Fantasy door images can be found on sites like Unsplash, Shutterstock, and Adobe Stock. Check to see that any images you use in your manipulation have the appropriate licenses.
How would I consistently mix the dream entryway into my current photograph foundation?
Use devices like covering and change layers to mix the lighting, shadows, and variety tones of the dream entryway with the foundation. Focus on point of view to make a sensible mix.
Are there a particular Photoshop strategies for upgrading the supernatural or dream components in my control?
Use channels, layer styles, and custom brushes to add supernatural impacts. Explore different avenues regarding variety evaluating, lighting changes, and layer mixing modes to upgrade the dream climate.
How can I improve the fantasy door’s shadow effect in my photo manipulation?
Make sure your fantasy door is in line with the lighting in your base photo. Using tools like the pen tool or brushes, create a separate shadow layer and adjust the opacity and blur for a more natural appearance.
Could you at any point suggest any instructional exercises or assets for novices to learn dream photograph control in Adobe Photoshop?
Online stages like YouTube and Adobe’s true instructional exercises give bit by bit advisers for dream photograph control. Search for instructional exercises covering fundamental methods, and step by step advance to additional mind boggling ones as you gain certainty.