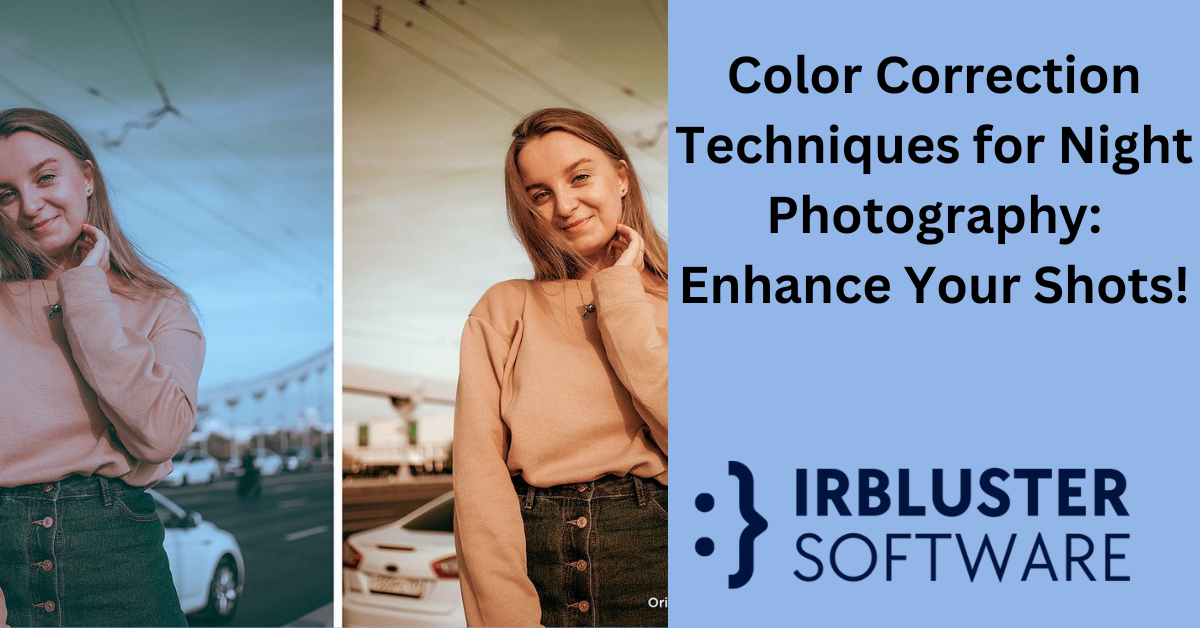
Color correction techniques for night photography involve adjusting the “Temp,” “Exposure,” and “Shadows” sliders in Lightroom to fix photos taken at night. By using these sliders, you can darken the overall image while preserving detail in the dark tones.
Additionally, reducing saturation can help create a more realistic look, as colors are typically less vibrant at night. Another method is to darken the image using global adjustments and then add light using masking tools in Lightroom. Removing distractions from the photo also enhances the night-time effect.
Color grading can be achieved by adjusting the temperature section in Lightroom or using color curves or split toning methods. Shooting during the day and then color grading to create a day-for-night look is another technique used in night photography.
Capturing The Night: Essential Gear
When it comes to night photography, choosing the right camera is crucial. Look for a camera with a high ISO range to capture low-light scenes effectively. Cameras with good noise reduction capabilities will help maintain image quality in darker conditions. Additionally, consider a camera with manual control options, allowing you to adjust settings like aperture and shutter speed for better control over the exposure.
When shooting at night, having the right lenses can make a significant difference. Wide-angle lenses are popular for capturing nightscapes and cityscapes, allowing you to include more of the scene in your frame. Prime lenses with wide apertures, such as f/1.4 or f/1.8, are excellent for low-light photography as they let in more light. These lenses also provide a shallow depth of field, creating beautiful bokeh effects.
Understanding Exposure For Night Shots
When editing a photo taken at night, there are several color correction techniques that can help enhance the final result. One method is to adjust the temperature using the “Temp” slider in Lightroom. By decreasing the temperature, the image can be given a cooler, bluish tone that is often associated with night photography. Another adjustment that can be made is with the “Exposure” slider. This can be used to darken the overall image, bringing out more detail in the shadows. Additionally, reducing the saturation slightly can help create a more realistic representation of the colors at night, which tend to be less vibrant. It’s important to experiment with these adjustments to find the right balance and achieve the desired look for your night photos.
The Role Of White Balance In Night Photography
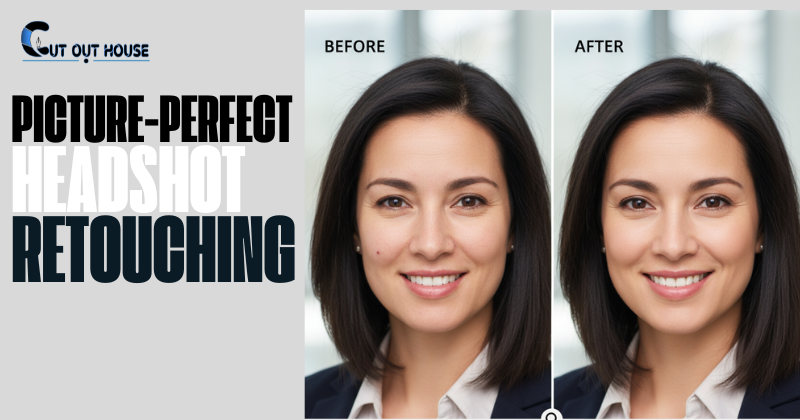
Color correction is crucial for enhancing night photography. Selecting the correct white balance setting is essential for capturing the true colors of the night scene. Adjusting white balance in post-processing allows for fine-tuning and perfecting the colors captured in the night photographs.
Color Correction Basics
When editing night photos, it’s important to adjust the temperature and tint to achieve the desired look. By tweaking these settings, you can bring out the natural colors of the scene and create a more balanced and appealing image. Additionally, working with saturation and vibrance allows you to enhance the colors without making them appear artificial. It’s crucial to find the right balance to avoid over-saturation or dullness. Experimenting with these color correction techniques can significantly improve the quality of your night photography and make your images stand out.
Advanced Techniques In Color Grading
Utilizing Lightroom And Photoshop
Color correction in night photography can be a challenging task, but utilizing Lightroom and Photoshop can help you achieve the desired results. In Lightroom, you can adjust the “Temp,” “Exposure,” and “Shadows” sliders to fix a photo taken at night. Darkening the overall image and reducing saturation can also improve the final result. On the other hand, Photoshop offers various tools for enhanced color correction, such as color curves and split toning. Additionally, creating a day-for-night look can be achieved by shooting footage during the day and color grading it to look like it was shot at night. By following these techniques, you can enhance the colors and tones in your night photos and create stunning images.
Creating A Night Scene From Day Shots
To fix a photo taken at night, you can use the “Temp,” “Exposure,” and “Shadows” sliders in Lightroom. Use the latter to preserve detail in the dark tones while using the “Exposure” slider to darken the overall image. It might also help to slightly reduce the saturation because, at night, colors are usually much less vibrant. When creating a night scene from day shots, you can start by darkening the image using global adjustments to reduce the exposure. Then, add light to the image using the masking tools in Lightroom. Lastly, remove any distractions from the photo that detract from it appearing to have been shot at night.
Showcase And Inspiration
When editing night photos, it’s important to adjust the “Temp,” “Exposure,” and “Shadows” sliders in Lightroom. Use the “Exposure” slider to darken the overall image while preserving detail in dark tones. Consider reducing saturation for less vibrant colors. For night street photos, color grading can be done using the temperature section in Lightroom, color curves, or split toning. To create a day-for-night look, shoot footage during the day and apply color grading to simulate a night scene. When choosing the right white balance for night skies, consider the color temperature for accurate results. To ensure correct color balance for night shots, create a color checker with a hole in the center of each swatch to compare live view colors.
Frequently Asked Questions
How To Fix A Photo Taken At Night?
To fix a photo taken at night, you can use color correction techniques. In Lightroom, adjust the “Temp,” “Exposure,” and “Shadows” sliders to darken the image and preserve detail in dark tones. Also, reduce saturation to make colors less vibrant.
Another method is to darken the image and add light using masking tools in Lightroom. Remove distractions to enhance the night effect. Use the white balance settings or adjust temperature and tint for color correction.
Which Method Helps Night Photographers Create The Correct Exposure?
To create the correct exposure in night photography, you can adjust the “Temp,” “Exposure,” and “Shadows” sliders in Lightroom. Use the “Exposure” slider to darken the overall image while preserving detail in the dark tones with the “Shadows” slider. Also, reducing saturation can help make colors appear more realistic in low light conditions.
How Do I Edit A Picture To Look Like Night?
To edit a picture to look like night, you can follow a three-step process. Firstly, darken the image using global adjustments to reduce the exposure. Secondly, add light to the image using the masking tools in Lightroom. Lastly, remove any distractions from the photo that detract from it appearing to have been shot at night.
You can also adjust the temperature and saturation to enhance the effect.
What Color Temperature For Night Photography?
For night photography, use a color temperature of around 3200-4500K to capture the cool, tranquil atmosphere. Adjust the white balance to achieve the desired mood and tone in your night shots.
Conclusion
Mastering color correction techniques for night photography is crucial for creating stunning and captivating images. By understanding white balance settings and utilizing post-processing adjustments, photographers can enhance the vibrancy and mood of their night photos. With the right skills and tools, capturing the beauty of the night becomes an achievable and rewarding endeavor.


