Transforming a raw photograph into a stunning final image requires more than technical skill—it demands a systematic photo retouching workflow that balances efficiency with creativity. Professional retouchers don’t work randomly; they follow proven image editing sequences that ensure consistent results while preserving image quality. This comprehensive guide provides both a detailed step-by-step process and essential principles that will revolutionize how you approach professional photo editing and retouching projects.
Step-by-Step Photo Retouching Workflow
Step 1: Import and Initial Setup
Begin by importing your image into professional editing software like Adobe Photoshop or Lightroom. Immediately create a duplicate layer or work on a copy of the original file to preserve the untouched version. Set up your workspace with essential panels visible: layers, adjustments, and history. Ensure your monitor is properly calibrated for accurate color representation, as this foundation prevents hours of wasted effort on incorrectly adjusted images. A proper photo retouching workflow always starts with correct technical setup.
Step 2: Image Evaluation and Planning
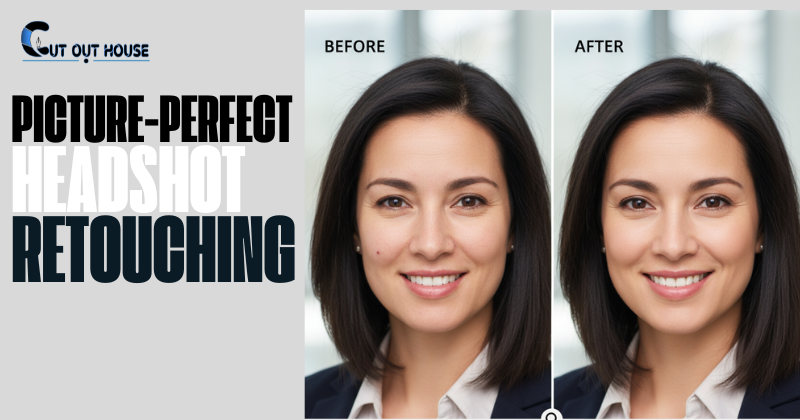
Zoom to 100% and systematically scan the entire image, noting every issue requiring attention. Look for technical problems like exposure errors, color casts, and focus issues. Identify compositional elements: distracting backgrounds, cropping opportunities, and areas needing emphasis. For portrait retouching, mark skin imperfections, uneven tones, and features requiring enhancement. Create a mental roadmap prioritizing fixes from essential corrections to creative flourishes. This evaluation phase is crucial for an efficient retouching process.
Step 3: Global Exposure and Tone Adjustments
Start with corrections affecting the entire image. Use curves or levels to establish proper exposure, ensuring your image has true blacks, clean whites, and good midtone separation. Adjust highlights to recover blown-out areas and lift shadows to reveal hidden detail. These fundamental tonal corrections create the neutral canvas upon which all subsequent adjustments build in your image editing workflow, so invest time getting them right before moving forward.
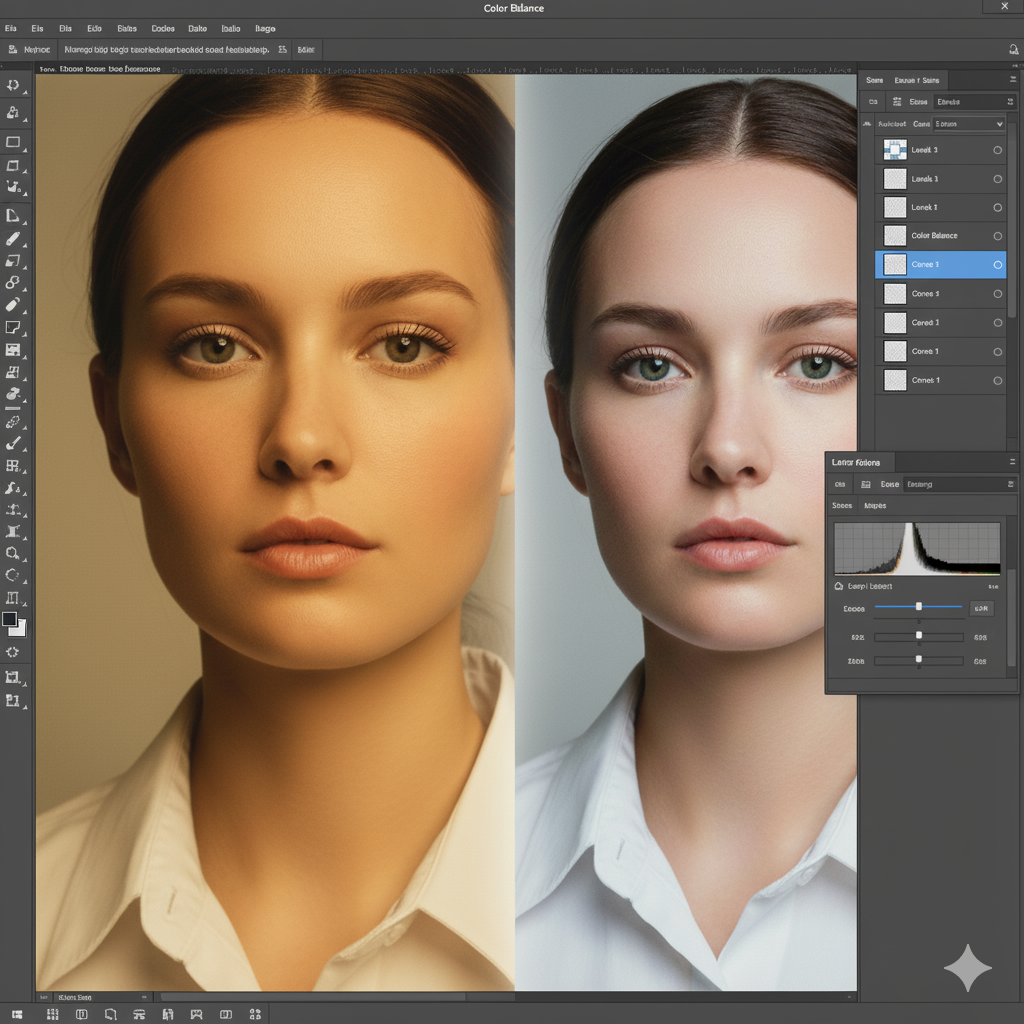
Step 4: White Balance and Color Correction
Correct overall color temperature and tint to achieve accurate, neutral colors. Remove color casts that make images appear too warm, cool, or tinted. Use the eyedropper tool on areas that should be neutral gray to quickly neutralize unwanted color shifts. For mixed lighting situations, use graduated filters or adjustment brushes to correct different areas independently while maintaining natural transitions between corrected zones. Proper color correction is a fundamental step in any professional editing workflow.
Step 5: Lens Corrections and Perspective
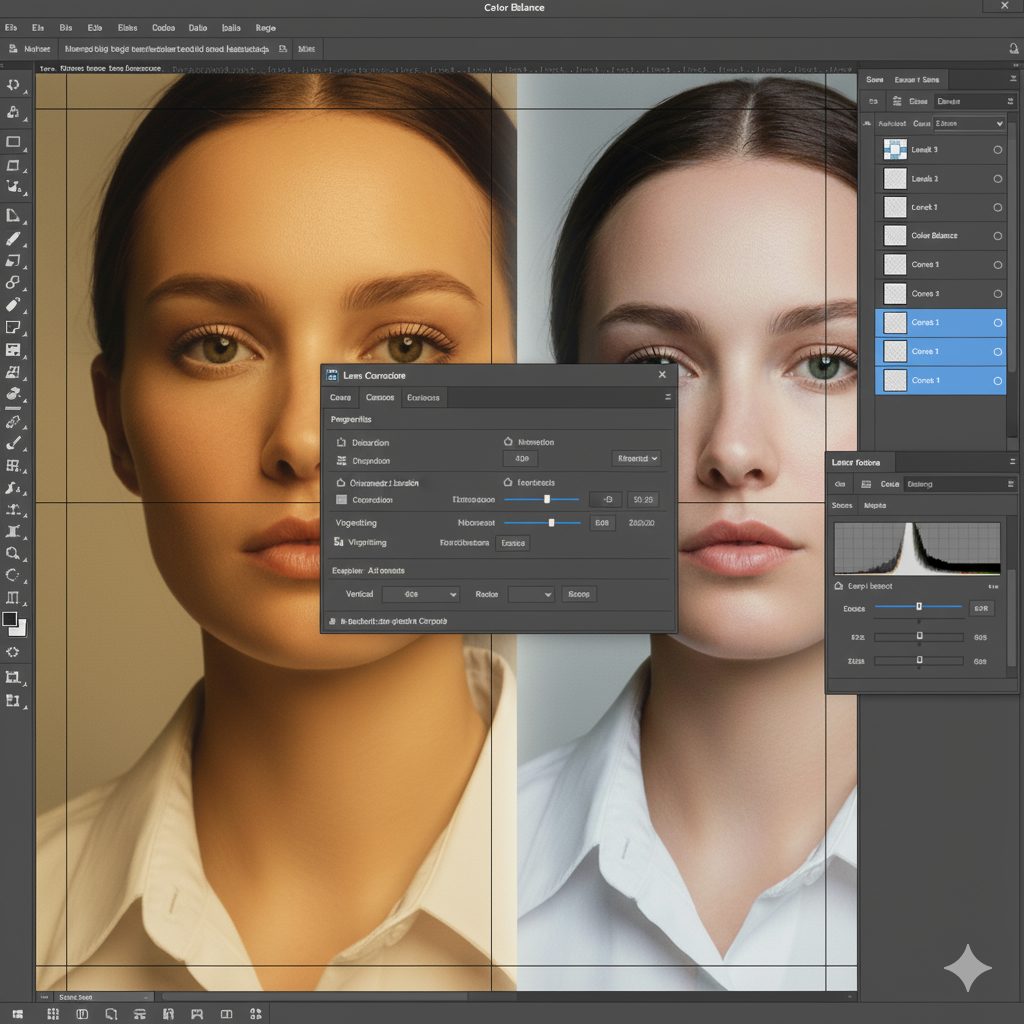
Apply lens profile corrections to fix distortion, vignetting, and chromatic aberration automatically introduced by camera optics. Straighten horizons using the ruler tool for precision alignment. Correct perspective distortion that makes buildings lean or creates unflattering angles in portraits. These technical fixes eliminate distractions and create professional-looking geometry that viewers expect from polished images in a complete retouching workflow.
Step 6: Composition Refinement and Cropping
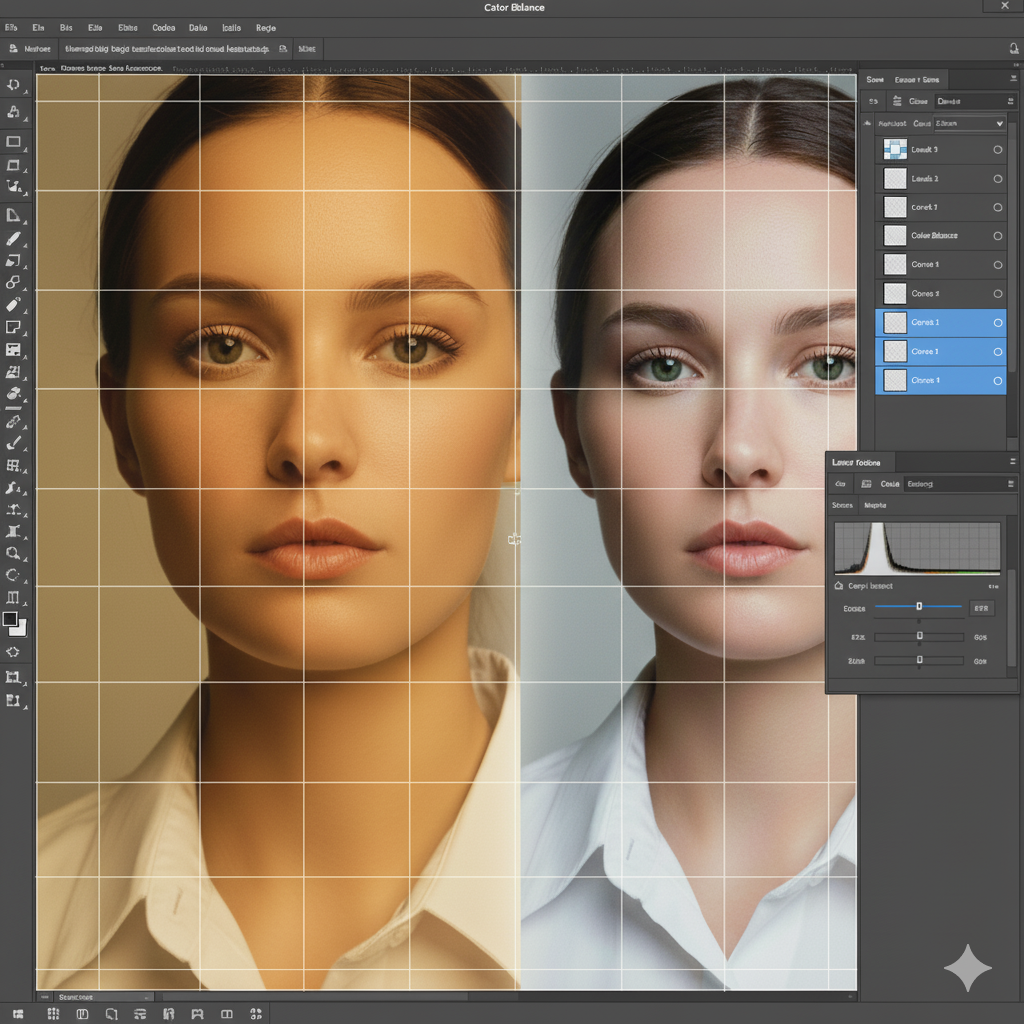
Evaluate composition after corrections reveal the image’s true potential. Crop to eliminate edge distractions, improve balance using rule of thirds, or create specific aspect ratios for intended use. Use content-aware fill or clone stamp to remove obvious background distractions like trash, power lines, or photobombers. This establishes your final frame before investing time retouching areas that might be cropped away. Strategic cropping streamlines your overall photo editing process.
Step 7: Spot Removal and Blemish Correction
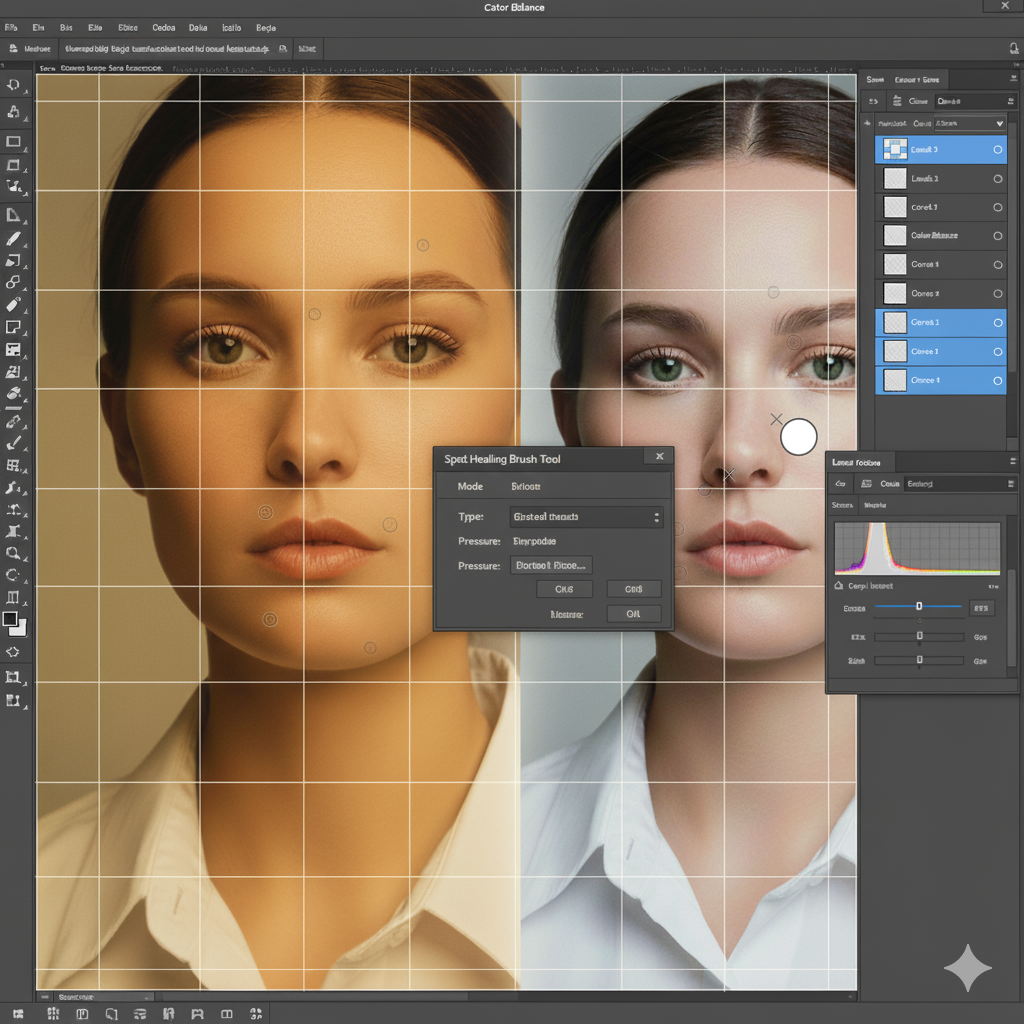
Work systematically through the image removing temporary imperfections. Use healing brush for skin blemishes, sensor dust, and small distractions that blend with surroundings. Apply clone stamp for larger fixes or areas requiring precise texture matching. Create a new layer for these corrections, maintaining non-destructive workflow flexibility. Remove only temporary flaws while preserving character-defining features like beauty marks or distinctive facial characteristics.
Step 8: Skin Retouching with Frequency Separation
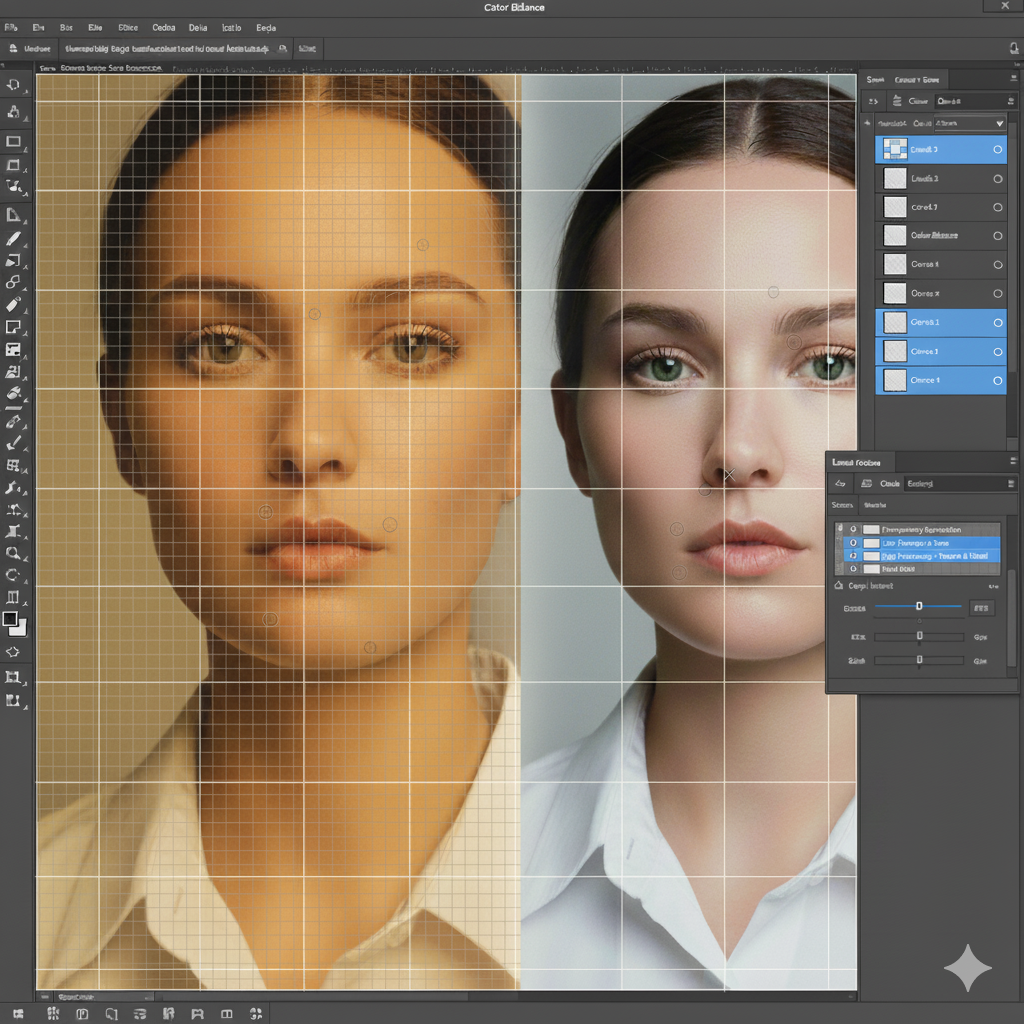
For portraits, apply frequency separation to separate texture from color and tone. Create two layers: one containing high-frequency detail (texture) and another with low-frequency information (color and tone). Blur the low-frequency layer to smooth color inconsistencies while leaving the high-frequency texture layer intact. Paint on the low-frequency layer to even skin tones without destroying natural pores and texture that make skin look realistic. This advanced technique is essential in professional portrait editing.
Step 9: Dodging and Burning for Dimension
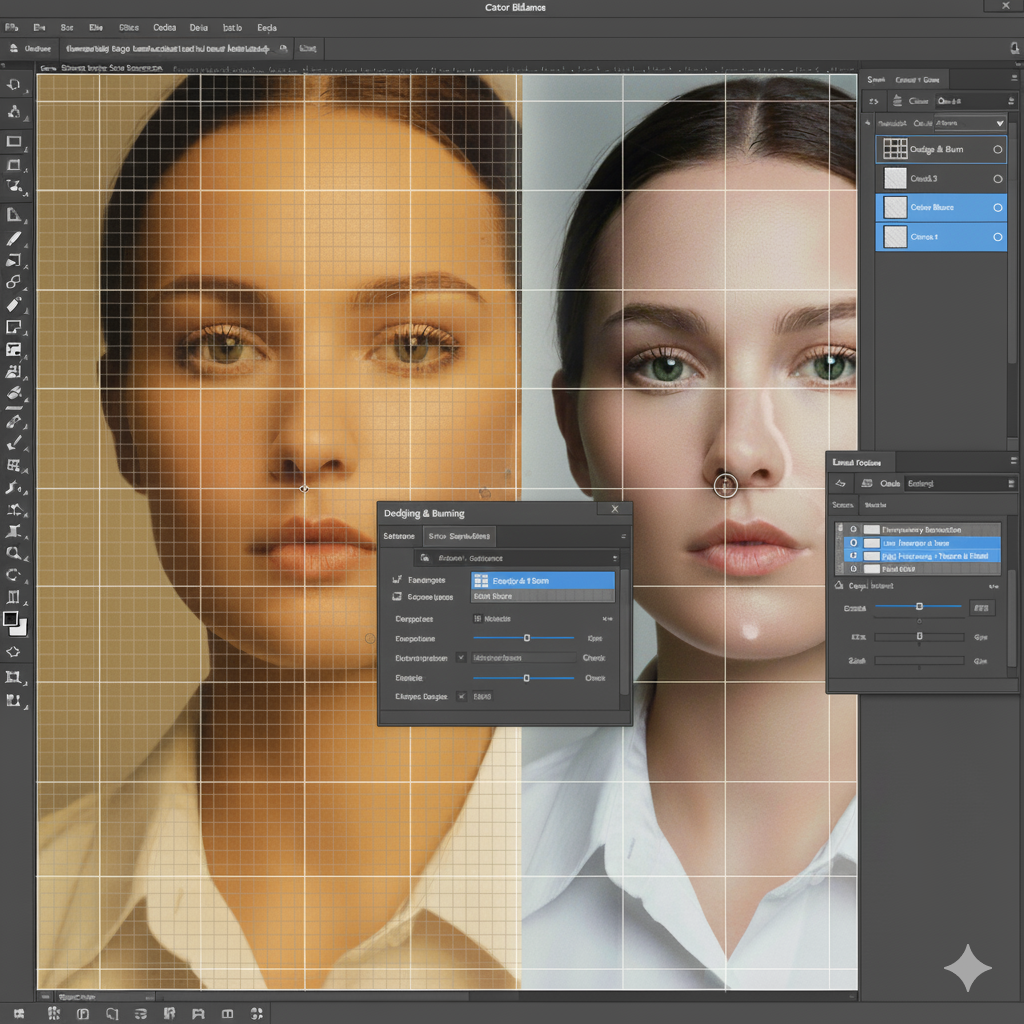
Create a 50% gray layer set to soft light blending mode. Paint with white at 5-10% opacity to selectively lighten (dodge) areas you want to emphasize. Paint with black to darken (burn) areas needing depth or de-emphasis. Follow natural light patterns, enhancing existing dimension rather than creating artificial-looking highlights. This technique adds three-dimensional quality that makes images pop while maintaining photographic realism in your photo retouching workflow.
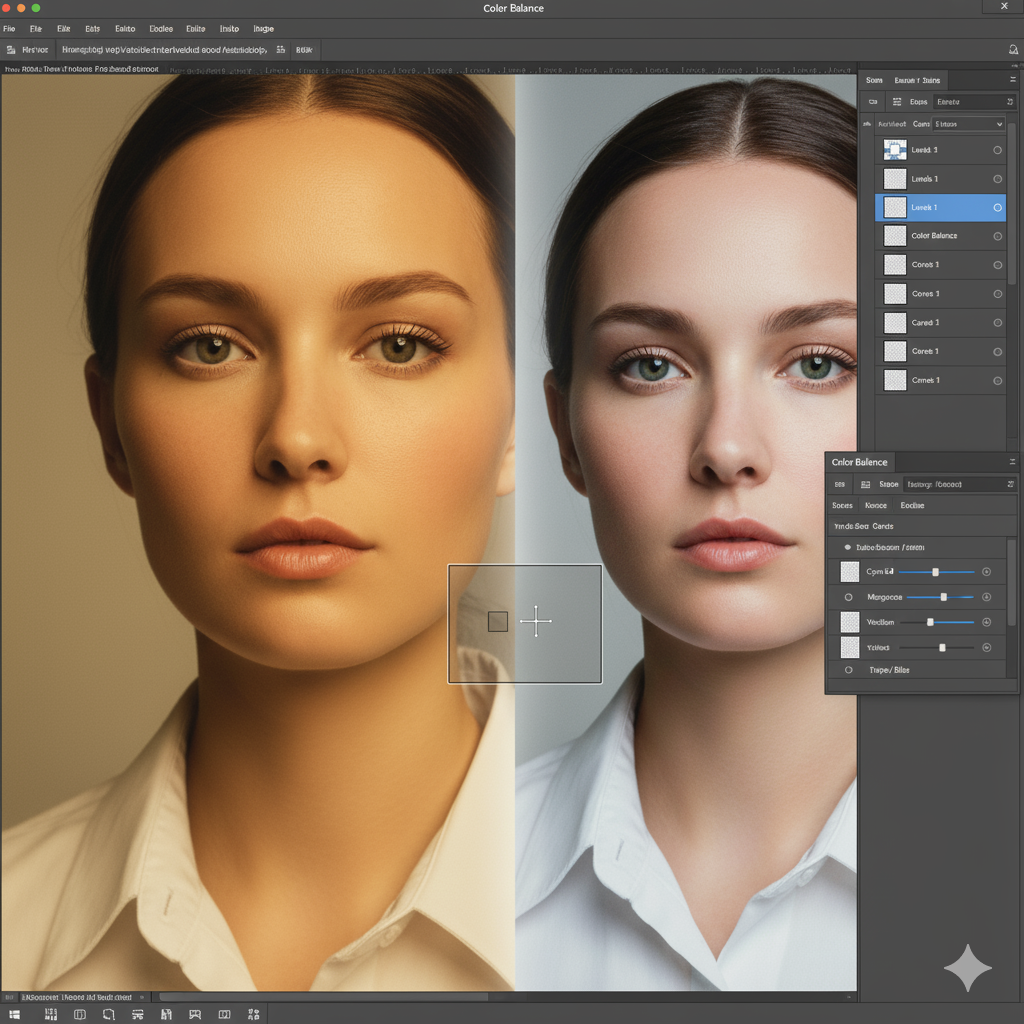
Step 10: Selective Color Grading
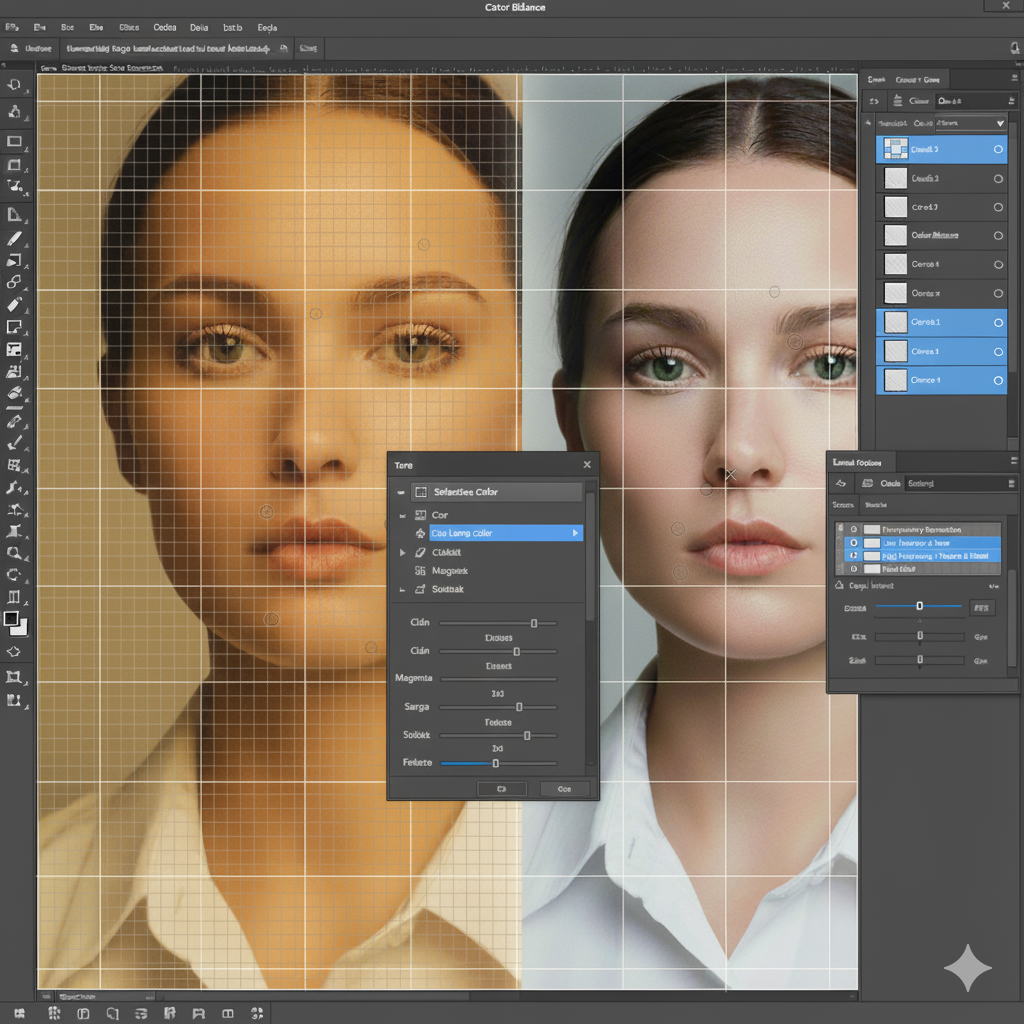
Apply creative color adjustments to establish mood and visual cohesion. Use color balance to push shadows cool and highlights warm for cinematic looks, or create complementary color schemes for visual interest. Adjust HSL sliders to enhance or mute specific color ranges independently. Keep skin tones natural even when applying stylized color grades to other image elements. Color grading transforms good edits into exceptional final images.
Step 11: Selective Sharpening

Create a sharpening layer using high-pass filter technique: duplicate your layer, apply high-pass filter at 1-3 pixel radius, set blending mode to overlay, and reduce opacity to taste. Add a layer mask and paint sharpening only onto important details like eyes, jewelry, and key focal points. Avoid sharpening smooth areas like skin and backgrounds, which should remain soft for professional appearance. Selective sharpening enhances image quality without creating artificial effects.
Step 12: Final Review and Micro-Adjustments
Compare your retouched version with the original using a 50% opacity layer or by toggling visibility. Ensure you’ve improved rather than over-processed the image. Check at both 100% zoom for detail quality and fit-to-screen view for overall impact. Make final micro-adjustments to contrast, brightness, and saturation. Verify skin tones appear natural and consistent across the entire subject. This quality control step ensures professional results.
Step 13: Output Preparation and Export
Flatten your image or create a merged copy of all visible layers for export. Resize according to intended use: larger for print, optimized dimensions for web or social media. Apply output sharpening appropriate to final size and medium, as print requires more aggressive sharpening than screen display. Convert to appropriate color space: sRGB for web, Adobe RGB for professional printing. Proper export settings complete your retouching process.
Step 14: File Management and Archiving
Save your layered working file in PSD or TIFF format with all layers and adjustments intact for future revisions. Export final versions in appropriate formats: maximum quality JPEG for sharing, PNG for web graphics requiring transparency. Create organized folder structures with clear naming conventions including project name, version number, and date. Back up both working files and final exports to prevent loss of valuable work. Systematic file management ensures long-term workflow efficiency.
Essential Principles for an Effective Photo Retouching Workflow
Implementing these core principles will elevate your retouching practice:
Work Non-Destructively: Always use adjustment layers, layer masks, and smart objects to preserve original image data. This flexibility allows unlimited revisions without quality loss.
Follow a Consistent Sequence: Adhering to a structured photo retouching workflow eliminates decision fatigue and ensures you never skip critical steps in the editing process.
Know When to Stop: Over-retouching creates artificial-looking results. Regular comparison with your original image helps maintain natural appearance and photographic authenticity.
Optimize for Speed: Create custom presets, actions, and keyboard shortcuts for repetitive tasks. Efficiency in your workflow allows more time for creative decisions.
Maintain Image Quality: Work in 16-bit color depth when possible, save master files in lossless formats, and apply destructive operations only on duplicate layers.
Conclusion
Mastering a professional photo retouching workflow transforms overwhelming creative challenges into manageable, systematic processes. This structured approach ensures consistent quality while maximizing efficiency and preserving flexibility for creative expression. Implement these image editing steps and principles gradually, adapting them to your specific needs and developing personal style. With dedicated practice, systematic workflow becomes second nature, freeing mental energy for artistic decisions rather than technical uncertainty. The path from good to exceptional retouching lies in disciplined, methodical workflow execution combined with refined aesthetic judgment and continuous refinement of your retouching techniques.