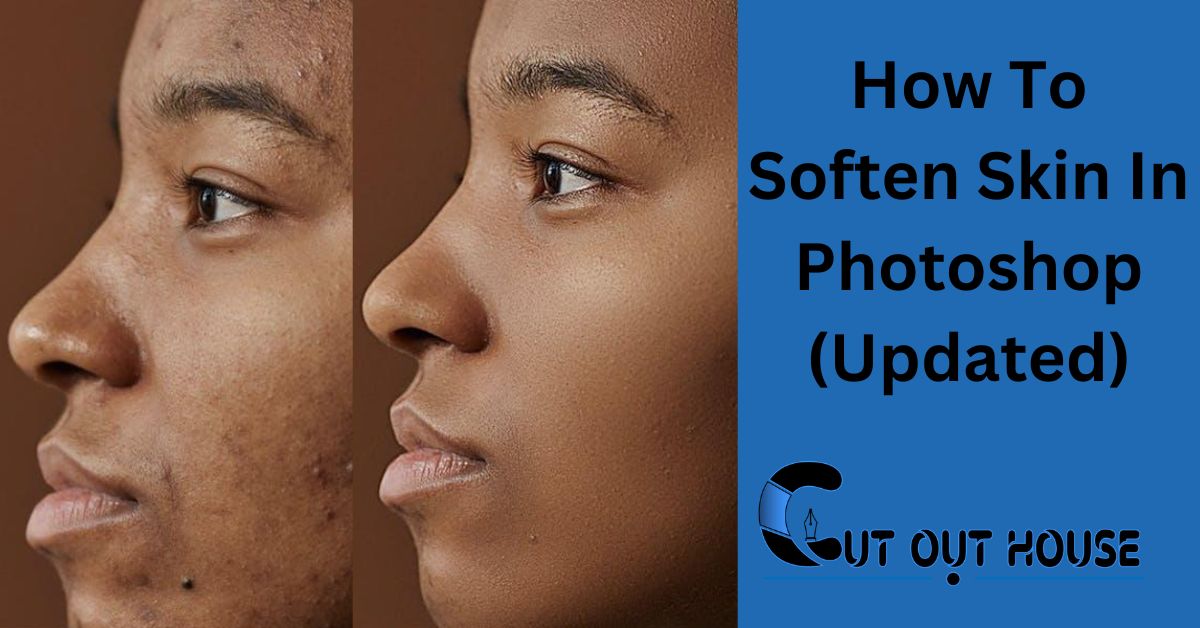
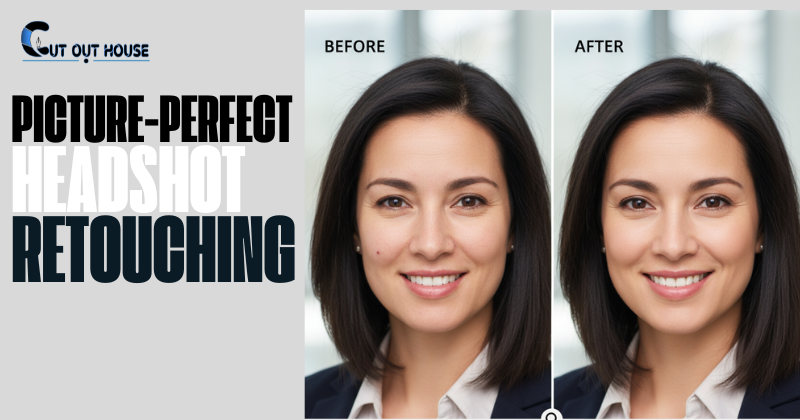
In today’s digital age, where everyone wants to look flawlessly beautiful in their photos, soften the skin has become an essential editing skill. Thankfully, with Adobe Photoshop, achieving smooth and soft skin is a breeze. In this article, we will explore various techniques and tools to help you master the art of skin softening in Photoshop.
1. Gaussian Blur Technique
The Gaussian Blur technique is one of the most popular methods used to soften skin in Photoshop. It involves applying a gentle blur effect to the skin, making it appear smoother. Here’s how you can do it:
- Open your image in Photoshop.
- Duplicate the background layer by pressing Ctrl+J (Windows) or Cmd+J (Mac).
- Go to Filter > Blur > Gaussian Blur.
- Adjust the radius to your desired level of blur. Be careful not to overdo it.
- Click OK to apply the blur effect.
- Add a layer mask to the duplicated layer.
- Use a soft brush to paint on the layer mask with black, revealing the sharp details where you want them, such as the eyes, lips, and hair.
2. Frequency Separation Technique
The Frequency Separation technique is a more advanced method that allows you to separate the skin texture from the skin tones and work on them independently. Here’s how you can use this technique:
- Duplicate the background layer.
- Go to Image > Apply Image.
- Select “Subtract” as the blending mode and adjust the scale and offset values until you achieve a balanced result.
- Create a new blank layer.
- Go to Filter > Blur > Gaussian Blur and set the radius to a medium value.
- Select the original layer again.
- Go to Image > Apply Image.
- Select “Add” as the blending mode.
- Adjust the opacity of the blurred layer until you achieve a pleasing smoothness.
- Use the Clone Stamp or Healing Brush tool to eliminate any remaining imperfections.
3. Neural Filters in Photoshop
If you’re using the latest version of Photoshop, you can take advantage of the Neural Filters feature to quickly and effectively soften the skin. Here’s how:
- Select Neural Filters from the Filter menu.
- Download the Skin Smoothing filter from the cloud.
- Enable and adjust the filter settings to achieve your desired level of skin softening.
These are just a few of the techniques you can use to soften skin in Photoshop. Remember to always work on a duplicate layer and use a light touch to maintain a natural look. With practice and experimentation, you’ll be able to master the art of skin softening and create stunning portraits.
Now that you have the tools and knowledge, go ahead and give it a try! Enhance your photos, present your most flawless self, and capture the attention of your audience.
Frequently Asked Questions Of How To Soften Skin In Photoshop
How Do I Soften Skin In Photoshop?
To soften skin in Photoshop, use the Skin Smoothing filter: Select Neural Filters, download the filter from the cloud, enable and adjust it to smooth skin.
How Do You Soften An Image In Photoshop?
To soften an image in Photoshop, use the Blur tool. Select the tool, choose brush settings, and apply blur to desired areas. Additionally, create motion blur for a dynamic effect.
How Do I Fix Bad Skin In Photoshop?
To fix bad skin in Photoshop, use the following techniques: Apply Gaussian Blur, use the Skin Smoothing filter, or use the Blur tool to soften skin. You can also explore blur modes like Blur, Blur More, and Lens Blur to remove textures.
Always work on a separate layer for retouching.
How Do I Soften A Texture In Photoshop?
To soften a texture in Photoshop, follow these steps:
- Open the image in Photoshop.
- Go to the Filters menu and select Blur.
- Choose the blur mode that suits your needs (Blur, Blur More, or Lens Blur).
- Adjust the settings to achieve the desired level of softness.
- Apply the blur filter to the image.
Remember to always work on a separate layer to maintain the integrity of your original image.


