Enhance your car photography with advanced editing techniques to elevate the quality and visual appeal of your images. Dive into methods such as masking, applying curves, adding contrast, and utilizing directional light to create stunning car photos that stand out.
Mastering tools like the healing tool in Lightroom and exposure adjustments can help you achieve professional-looking results. Experiment with different styles and effects, such as lens flares, gradients, and texture overlays, to add creativity and uniqueness to your car photography edits.
By incorporating these editing tips and tricks, you can take your car photography to the next level and captivate your audience with striking visuals.
Setting The Stage For Car Photography Editing
Elevate your car photography editing game with expert tips on enhancing color, contrast, and lighting for stunning results. Master techniques like masking, applying curves, and using directional light to bring out the best in your car photos. Experiment with different editing styles and effects to make your car images stand out.
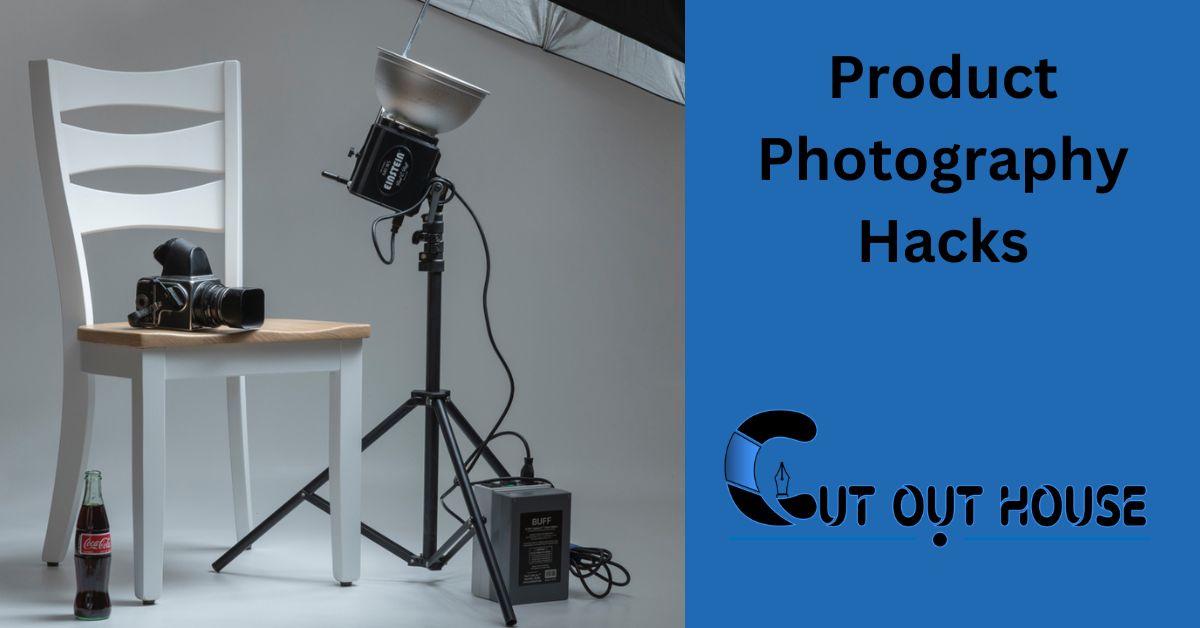
| Essential Gear for High-Quality Raw Shots | Optimal Lighting Conditions for Car Photography |
| Invest in a quality DSLR or mirrorless camera to capture detailed raw images. A sturdy tripod is essential for stability and sharpness. Consider using a wide-angle lens to encompass the entire car and surroundings. | Shoot during the golden hours – the soft, warm light enhances the car’s contours. Overcast days provide even lighting, minimizing harsh shadows and reflections. Experiment with different angles to find the best lighting for your shots. |
Getting Started With Editing Software
When editing car photography, it’s crucial to choose the right editing tools to enhance the images. Consider using software like Adobe Lightroom or Photoshop for professional results. These tools offer a wide range of features such as color correction, cropping, and special effects to elevate the overall look of the car photos.
Once you’ve selected the appropriate software, familiarize yourself with the interface to streamline your editing workflow. Learn to navigate the various tools and menus efficiently to optimize your editing process. This will help you work more effectively and achieve the desired results in a timely manner.
Basic Adjustments For Impactful Results
When it comes to car photography, editing plays a crucial role in creating impactful images. Mastering exposure and contrast is essential for bringing out the details and enhancing the overall look of the car. Adjusting the exposure can help in controlling the brightness and ensuring that the image is well-lit. Additionally, tweaking the contrast can add depth and dimension to the photo, making it more visually appealing.
Color correction techniques are also important for creating vibrant and eye-catching car photos. Adjusting the color balance, saturation, and vibrancy can help in achieving the desired look and feel for the image. Moreover, refining the colors can make the car stand out and grab the viewer’s attention.
Advanced Editing Techniques
Elevate your car photography with advanced editing techniques such as applying curves, adding contrast, and using directional light for impactful results. Enhance your images further by mastering masking, exposure adjustment, and fixing color tones in post-processing.
When it comes to advanced editing techniques in car photography, using masks and curves can take your editing to the next level. Masks allow you to enhance selective areas of the photo, such as the car’s body or the background, while leaving other areas untouched. Applying curves can help you control the dynamic range of the photo, making it easier to balance exposure and contrast. By adjusting the highlights and shadows, you can create a more dramatic and dynamic image. These techniques require some practice and experimentation, but they can help you achieve a more professional and polished look for your car photography.
Refining Details For A Polished Look
When it comes to car photography editing, refining details is crucial to achieving a polished look. One effective way to bring out details is through sharpening. This can be done by adjusting the sharpening sliders in Lightroom or Photoshop. However, be careful not to overdo it as it can lead to a noisy and unnatural look.
Another helpful tool is the healing tool, which can be used to remove unwanted elements such as scratches, dust, or even people or objects in the background. This tool is available in both Lightroom and Photoshop and can help clean up your photos and give them a more professional look.
Overall, taking the time to refine details and remove unwanted elements can make a significant difference in the final outcome of your car photography edits.
Creative Enhancements
When editing car photos, experiment with adding lens flare for a dramatic effect. Utilize gradients and textures to enhance the overall look and feel of the image. Consider adjusting exposure and contrast to bring out the details of the car. Explore color correction and cropping to improve composition. Try compositing and background replacement for a unique touch. Enhance natural images with special effects to create visually appealing car photography. Follow the best camera settings for car photography and use the recommended presets for optimal results. Utilize tools like Magic Eraser to remove unwanted objects and improve the overall composition of the image. By following these tips, you can elevate your car photography editing skills and create stunning visuals.
Specialized Edits For Different Car Colors
When editing black cars, focus on enhancing the depth and shine of the vehicle. Adjust the contrast to make the black color pop and use the healing tool to remove any imperfections. Adding a touch of directional light can also bring out the sleekness of the car.
For white cars, aim to enhance the purity and brilliance of the color. Adjust the exposure and use curves to create a clean and crisp look. Additionally, consider adding contrast to make the white color stand out against the background.
Final Touches And Exporting
When editing car photography, the final touches and exporting stage are crucial. Pay attention to cropping to ensure the composition is perfect. Consider export settings for sharing or printing purposes. Use magic eraser tool to remove unwanted objects from the photos. Adjust exposure and contrast to enhance the images. Utilize color correction and retouching to improve the overall quality. Apply special effects and background replacement where necessary. Clean up the images, adjust white balance, and sharpen them for a polished look. Finalize the editing process and share your stunning car photographs with the world.
Frequently Asked Questions
What Are The Best Edit Settings For Car Photos?
For the best edit settings for car photos, adjust exposition, correct colors, crop, retouch, and apply special effects.
How Can I Edit My Car Pictures?
To edit your car pictures, start with basics like adjusting exposition, color correction, cropping, retouching, and adding special effects.
How Can I Make My Photos Look Better For Editing?
To make your photos better for editing, focus on cropping, adjusting white balance, exposure, contrast, color vibrancy, saturation, and sharpening.
How Do I Edit A Car Out Of A Picture?
To edit a car out of a picture, use the Magic Eraser tool. Select the photo, tap Edit Image, choose Magic Eraser, adjust brush size, paint over the car, and wait for the tool to remove it.
Conclusion
Elevate your car photography with these editing tips to enhance colors, lighting, and overall quality. Experiment with editing tools and techniques to bring out the best in your car photos. Remember to fine-tune details like exposure, color correction, and background for professional-looking results.
Keep practicing and refining your skills for stunning car photography edits.