Color correction in Lightroom is a step-by-step process that allows you to adjust colors in your images for a more accurate and pleasing result. By using the Targeted Adjustment tool, you can directly modify specific colors on the image.
To begin, activate the tool by tapping the Targeted Adjustment icon in the Color Mix panel. From there, select the color property you want to adjust, such as Hue, Saturation, or Luminance. This intuitive method gives you full control over the color correction process, ensuring your photos look natural and vibrant.
Mastering color correction in Lightroom can greatly enhance the overall quality of your images.
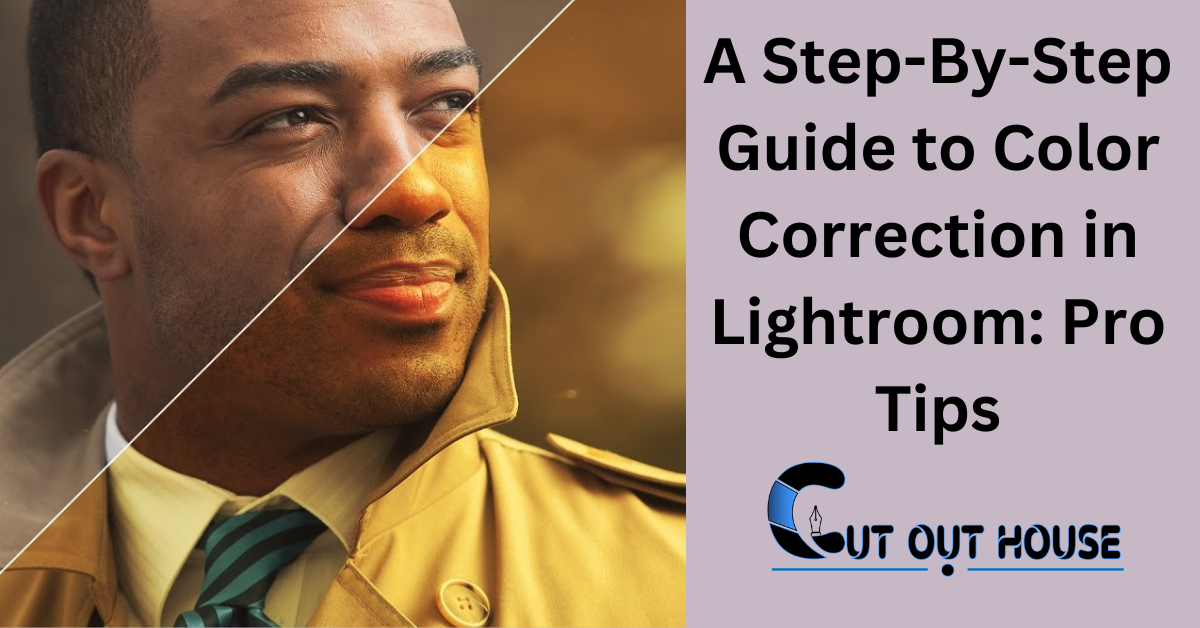
Introduction To Color Correction In Lightroom
Color correction is a crucial step in enhancing your photos using Adobe Lightroom. With Lightroom’s powerful color correction tools, you can achieve accurate and vibrant colors in your images. The importance of color correction lies in its ability to bring out the true colors of your subject and create a visually appealing final result.
One of the key tools for color correction in Lightroom is the Targeted Adjustment tool. This tool allows you to adjust specific colors directly on the image. By activating the tool and selecting the color property you want to adjust, such as hue, saturation, or luminance, you can make precise changes to achieve the desired color effect.
Additionally, the color correction process involves steps such as setting the white balance, adjusting highlights and shadows, and fine-tuning important hues. These steps ensure that the colors in your photos appear natural and accurate, without any unwanted color casts or tints.
By following a step-by-step approach to color correction in Lightroom, you can transform your photos and make them visually striking. Experiment with different adjustments and techniques to find the perfect balance of colors in your images.
Setting Up Your Workspace
The first step in color correction is setting up your workspace in Lightroom. To customize the interface for color work, you can make use of essential panels and tools. These panels and tools are designed to help you adjust colors accurately and efficiently.
One of the key panels to use is the Color Mix panel, which allows you to adjust the hue, saturation, and luminance of specific colors in your image. You can activate the Targeted Adjustment tool within this panel to make precise color adjustments directly on the image.
In addition, the Tone Curve panel and HSL (Hue, Saturation, and Luminance) panel are also valuable tools for color correction. The Tone Curve panel allows you to fine-tune the brightness and contrast of different tonal ranges, while the HSL panel enables you to adjust individual colors in your image.
By customizing your workspace with these essential panels and tools, you’ll have a more efficient and effective workflow for color correction in Lightroom.
Basic Adjustments For Color Correction
Color correction in Lightroom involves basic adjustments that are essential for enhancing your photos. Adjusting white balance is a crucial step in achieving accurate colors. Tweaking exposure and contrast helps to improve the overall brightness and depth of your images. Utilizing the Targeted Adjustment tool allows you to make specific color changes directly on the image. Color grading can further enhance the mood and style of your photos. By following these steps, you can achieve stunning and natural-looking colors in your photographs.
Advanced Techniques In Color Correction
Color correction in Lightroom involves advanced techniques to enhance your photos. Using the HSL panel, you can make targeted adjustments to specific colors, while color grading allows you to create the desired mood in your images. The Targeted Adjustment tool in Lightroom provides an intuitive way to identify and change specific colors directly on the image. By activating the tool and selecting the color property you want to adjust, such as Hue, Saturation, or Luminance, you can achieve precise color corrections. Additionally, adjusting the white balance is crucial for accurate colors and natural-looking photos. The cornerstone of color correction lies in the white balance adjustment, ensuring your photos reflect the true colors without being affected by different light sources’ color temperatures.
Tackling Common Color Issues
To tackle common color issues in Lightroom, you can start by fixing color casts and enhancing skin tones. To fix color casts, you can use the Targeted Adjustment tool to adjust specific colors directly on the image. First, activate the tool by tapping the Targeted Adjustment icon in the Color Mix panel. Then select the color property you want to adjust: Hue, Saturation, or Luminance. To enhance skin tones, you can use the HSL panel to adjust the saturation and luminance of the orange and red tones. Additionally, you can also use the Color Grading tool to add creative color effects to your images. Remember to always adjust the white balance to ensure accurate colors in your photos. With these steps, you can achieve great color correction in Lightroom.
Utilizing Lightroom Presets For Efficient Workflow
Enhance your photo editing workflow with Lightroom presets. This step-by-step guide will walk you through the process of color correction in Lightroom, allowing you to achieve accurate and vibrant colors in your images. Say goodbye to tedious manual adjustments and save time with this efficient technique.
| Utilizing Lightroom Presets for Efficient Workflow |
|
| Finding and Applying Presets |
|
| Creating Your Own Presets |
|
Creative Color Adjustments
In Lightroom, color correction involves various creative adjustments. Split toning and color grading are popular techniques for achieving unique looks. Selective color adjustments can also add impact to your images.
Final Touches And Exporting
When applying the final touches to your photos in Lightroom, it’s important to pay attention to sharpening and noise reduction. This step helps to enhance the overall quality of the image. Additionally, when exporting your photos for different mediums such as web or print, it’s crucial to use the appropriate settings. For web use, consider exporting in sRGB color space with a resolution of 72 pixels per inch, while for print, opt for Adobe RGB with a higher resolution. These settings ensure that your photos display accurately across various platforms.
Frequently Asked Questions
How To Do Color Correction In Lightroom?
To perform color correction in Lightroom, follow these steps: 1. Activate the Targeted Adjustment tool by clicking the icon in the Color Mix panel. 2. Select the color property you want to adjust: Hue, Saturation, or Luminance. 3. Use the tool to identify and change specific colors directly on the image.
4. Fine-tune the adjustments to achieve the desired color correction. 5. Remember to adjust the white balance for accurate colors. Color correction in Lightroom is a straightforward process that allows you to make precise adjustments to the colors in your photos.
What Are The Steps To Color Correction?
To color correct in Lightroom, follow these steps: activate the Targeted Adjustment tool in the Color Mix panel, select the color property to adjust (Hue, Saturation, or Luminance), and adjust colors directly on the image. Set the white balance, get highlights and shadows in order, tweak creative settings, check colors clip by clip, and fine-tune important hues.
White balance adjustment is crucial for accurate colors. Use the Basic panel sliders to fine-tune brightness, texture, and other adjustments.
Which Setting In Lightroom Must Be Adjusted To Get Colors As Accurate As Possible?
To get accurate colors in Lightroom, adjust the white balance setting. This ensures natural colors without being influenced by different light sources’ temperatures.
How Do I Edit In Lightroom Step By Step?
To edit in Lightroom step by step, follow these instructions: 1. Open Lightroom Classic and select a photo in the Library module. 2. Use the Basic panel to adjust brightness by clicking Auto or manually adjusting sliders. 3. Enhance detail and texture by dragging the Clarity slider to the right.
4. To correct colors, activate the Color Mix panel and use the Targeted Adjustment tool to adjust specific hues. 5. Fine-tune your edits by experimenting with other tools like Tone Curves, HSL, and Color Grading. Remember to save your changes and export the edited photo when you’re satisfied with the results.
Conclusion
Mastering color correction in Lightroom can significantly enhance the visual appeal of your photographs. By following the step-by-step guide, you can effectively manipulate colors, balance tones, and create stunning images. Understanding the intricacies of color correction empowers you to showcase your creativity and produce professional-quality photos.