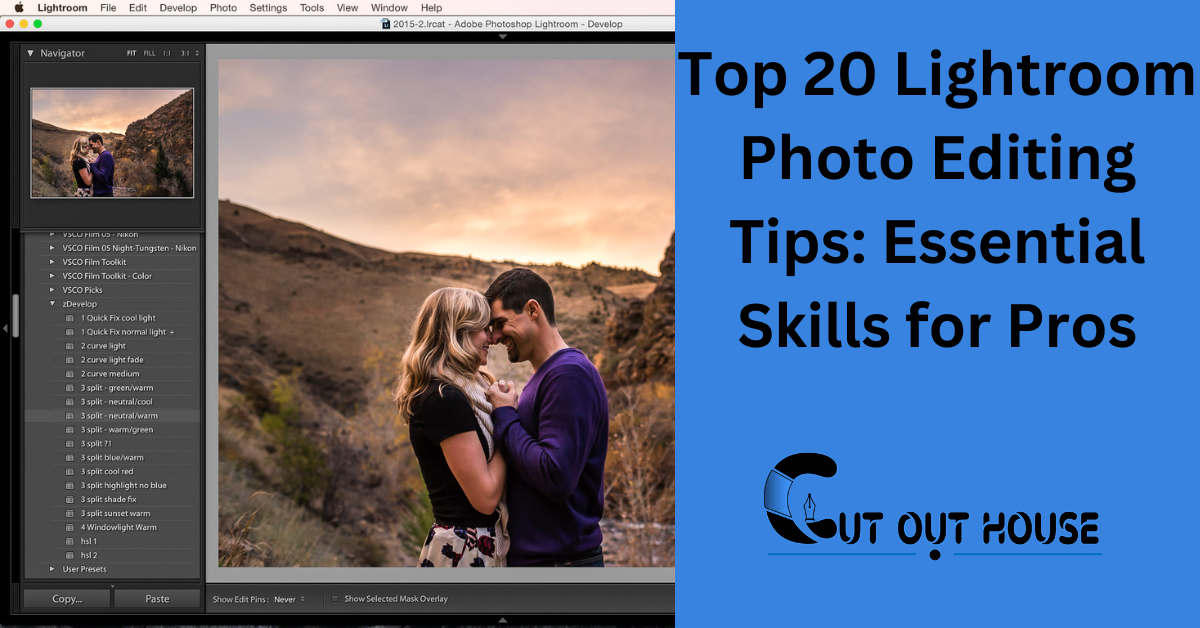
Discover essential Lightroom photo editing tips every photographer needs to know for stunning results. From adjusting white balance to applying presets, these tips will elevate your editing skills and enhance your photography.
Master techniques like using shortcuts, syncing settings, and fine-tuning saturation levels to create captivating images. Whether you’re a beginner or a seasoned pro, incorporating these tips into your workflow will take your editing game to the next level, making your photos stand out and impress your audience.
Explore the power of Lightroom and unleash your creativity with these top editing tips that will transform your images into works of art.
Mastering The Basics
When it comes to navigating the interface, the first step is to understand RAW files. Adobe Lightroom provides a user-friendly interface for editing and organizing photos. It’s important to familiarize yourself with the layout and tools to streamline your workflow. RAW files contain unprocessed data, allowing for greater flexibility in editing. By mastering the basics of navigating the interface and understanding RAW files, photographers can unlock the full potential of Adobe Lightroom for their photo editing needs.
Harnessing Lightroom Presets
Top 20 Lightroom Photo Editing Tips Every Photographer Should Know
When it comes to photo editing in Lightroom, applying base presets can significantly speed up the editing process. After applying a base preset to all images, photographers can then update the presets with their current settings to ensure consistency across their photo collections. This allows for efficient batch editing and a cohesive look for all images.
Advanced Adjustments
Local vs Global Edits: When making local edits, use the adjustment brush or graduated filter to target specific areas of the photo for more precise adjustments. Global edits, on the other hand, apply changes to the entire image.
Utilizing HDR for Dynamic Range: HDR merging can help to capture a wider dynamic range of light and detail in photos, especially in high-contrast scenes. This technique involves blending multiple exposures to create a well-balanced image with enhanced details.
Color Correction Techniques
Learn the top 20 Lightroom photo editing tips every photographer should know, including color correction techniques. These tips include making backgrounds black and white, changing colors, adding vignettes, removing dust spots, adjusting saturation, and more. Take your photo editing skills to the next level with these useful tips.
| Color Correction Techniques | |
| Achieving Accurate White Balance | Fine Control of Saturation and Hue |
| Color correction is a crucial step in photo editing. Achieving accurate white balance is the first step to ensure that colors in your photo look natural and not too warm or cool. Use the white balance tool in Lightroom to correct the temperature and tint of your photo. Fine control of saturation and hue allows you to enhance or tone down specific colors in your image. Use the HSL (Hue, Saturation, and Luminance) panel in Lightroom to adjust individual colors in your photo. By increasing or decreasing saturation, you can make colors more vibrant or muted, respectively. You can also shift the hue of a color to make it more green, blue, or any other color you desire. |
Note: The above HTML table provides information on color correction techniques under the heading “Color Correction Techniques”. There are two subheadings under this heading which are “Achieving Accurate White Balance” and “Fine Control of Saturation and Hue”. The table provides a brief description of these techniques and explains how they can be used in Lightroom to enhance the colors in your photo.
Detail Enhancement
Enhancing details in Lightroom can make your photos stand out. By using tools like clarity, sharpening, and texture, you can bring out the intricate elements in your images, adding depth and dimension to your photography. These techniques are essential for every photographer looking to take their editing skills to the next level.
| Clarity and Texture Tweaks | Noise Reduction and Sharpening |
|---|---|
| When enhancing details in Lightroom, adjusting clarity and texture can make a significant difference in the overall look of your photo. Increasing clarity can add sharpness and definition to edges, while decreasing clarity can give a dreamy or soft effect. Texture adjustments can bring out fine details in your photo, such as skin texture or natural landscapes. | Reducing noise and sharpening are important steps in achieving a clean and crisp final image. Use the noise reduction slider to reduce any unwanted grain or speckles in your photo. The sharpening slider can enhance the overall sharpness and clarity of your image, but be careful not to overdo it as it can create unnatural looking edges. |
In addition to these adjustments, it is important to apply them selectively using the adjustment brush or radial filter tool. This allows you to target specific areas of your photo for detail enhancement or noise reduction. Experiment with these techniques to find the right balance for your photo editing style.
Efficient Workflow Strategies
When it comes to editing a large number of photos, batch editing with synchronization can save a significant amount of time. This feature allows you to apply the same adjustments to multiple images simultaneously, ensuring a consistent look across your entire collection. Additionally, optimizing your catalog by regularly cleaning up unnecessary files and organizing your images into well-structured folders can further streamline your workflow. By implementing these strategies, you can enhance your productivity and focus more on the creative aspect of photo editing.
Creative Editing Tips
Top 20 Lightroom Photo Editing Tips Every Photographer Should Know
Negative Clarity can be used to achieve ethereal looks. This setting reduces mid-tone contrast, giving photos a softer, dreamy appearance. It’s particularly effective for portrait photography or to create a fine art effect. By experimenting with negative clarity, photographers can add a touch of magic to their images, producing unique and captivating results.
Finishing Touches
When it comes to adding watermarks, it’s essential to create a simple yet effective logo or text overlay. For images intended for online sharing, a subtle watermark placed in a corner can deter unauthorized use while minimizing distraction from the main subject.
Moreover, when preparing your final output, export settings play a crucial role. Ensure that the image quality is optimized for the specific platform or purpose, whether it’s for web sharing or high-quality printing. Pay attention to the file format, resolution, and compression settings to maintain the visual integrity of your work.
Troubleshooting Common Issues
| To fix dust spots: Use the spot removal tool to easily remove any visible spots on the image. To correct lens distortions: Utilize the lens correction panel to adjust distortions caused by the camera lens. |
Specialized Editing Techniques
| Enhance your photos with selective color adjustments to make certain elements pop.Creating vignettes can draw focus to your subject and add depth to your images. |
Composition Corrections
Learn the top 20 Lightroom photo editing tips every photographer should know, including how to make background black and white while keeping the subject colorful, adjusting colors, adding vignettes, eliminating dust spots, and enhancing saturation. Discover the secrets to achieving a level horizon, perfecting white balance, and applying watermarks.
| For Composition Corrections, start by Straightening a Level Horizon. Then, Cropping for Impact can enhance the overall composition. |
Using Lightroom Shortcuts
Discover the top 20 Lightroom photo editing tips every photographer should know, including the efficient use of Lightroom shortcuts for a seamless editing experience. Learn how to make your editing process more efficient and enhance your photography skills with these essential tips.
Mastering these shortcuts can significantly improve your workflow and help you achieve professional-looking results in no time.
| Lightroom Shortcuts |
| Utilize keyboard shortcuts for efficient editing process. |
| Create custom shortcuts to personalize your workflow. |
Final Review And Adjustments
After applying the top 20 Lightroom photo editing tips, conduct a final review and make necessary adjustments to ensure each photo shines. Give individual attention to details like exposure, color balance, and clarity for professional results that stand out.
| Final Review and Adjustments | |
| One-by-One Photo Check | Ensure each photo is perfect individually. |
| Library Mode for Overall Consistency | Review all photos together for uniformity. |
Staying Updated
Discover the essential Top 20 Lightroom photo editing tips for photographers to enhance your skills and workflow. From adjusting colors to perfecting white balance, mastering these techniques will elevate your editing game and help you create stunning visuals. Stay updated and unlock the full potential of your photography with these expert tips.
| When it comes to staying updated, keep up with Lightroom updates and learn from the Lightroom community. Engage in forums, follow blogs, and attend workshops to stay informed. |
Protecting Your Work
When it comes to preserving your work, it’s essential to have a backup strategy in place. Regularly backing up your Lightroom catalog and image files is crucial to safeguard against data loss. Additionally, familiarize yourself with the catalog recovery options available in Lightroom. Being prepared for any unforeseen circumstances will give you peace of mind and ensure the safety of your valuable photographic work.
Expanding Your Skills
When it comes to exploring new Lightroom features, there are several advanced tutorials and resources available that can help photographers enhance their editing techniques. By delving into these resources, photographers can gain a deeper understanding of the various tools and functionalities offered by Lightroom. This can enable them to elevate their editing skills and create more impactful and visually stunning photographs.
Lightroom In Professional Photography
Lightroom Classic is preferred by professional photographers due to its robust features and flexibility in managing and editing large volumes of images. Its non-destructive editing workflow and powerful organization tools make it an ideal choice for handling complex photo shoots.
While Lightroom CC offers the convenience of cloud-based storage and seamless mobile integration, Lightroom Classic stands out with its advanced editing capabilities and customizable workflow. Professional photographers often prioritize control and precision in their editing process, making Lightroom Classic their preferred choice.
Editing Order And Logic
When it comes to editing photos in Lightroom, it’s important to establish a logical and sequential order for your editing steps. This helps ensure that you don’t miss any important adjustments and that your edits are organized and efficient.
One key practice for maintaining a logical editing order is to use non-destructive editing techniques. This means that instead of making permanent changes to your original photo, you create virtual copies or use adjustment layers to make your edits. This allows you to easily go back and make changes or revert to the original photo if needed.
Another helpful tip for establishing a logical editing order is to start with global adjustments and work your way to local adjustments. This means making broad changes to the entire photo first, such as adjusting exposure or white balance, before moving on to more specific adjustments like spot removal or selective color changes.
Frequently Asked Questions
How Do I Edit Like A Photographer In Lightroom?
To edit like a photographer in Lightroom, apply a base preset to all images, edit one photo fully, then copy edits. Give each photo a final check and adjust as needed. Review in library mode to ensure consistency in temp, tint, and exposure.
How Do I Edit Perfectly In Lightroom?
To edit perfectly in Lightroom, select a photo in Library module. Adjust brightness using Basic panel sliders and Clarity for detail. Fine-tune adjustments and review each photo individually for a polished result. Apply base preset, edit one photo fully, copy edits, and give final check.
Do Professional Photographers Use Lightroom Cc?
Yes, professional photographers often use Lightroom CC for editing and organizing their photos effectively.
What Order Should I Edit In Lightroom?
Edit your photos in Lightroom by applying a base preset, fully editing one photo, copying edits, checking each photo, and adjusting as needed.
Conclusion
Mastering Lightroom photo editing is essential for photographers. Implement these tips to enhance your editing skills and create stunning images. Experiment, practice, and refine your techniques to elevate your photography game. Stay updated with the latest trends and tools to continuously improve your editing prowess.
Happy editing!


