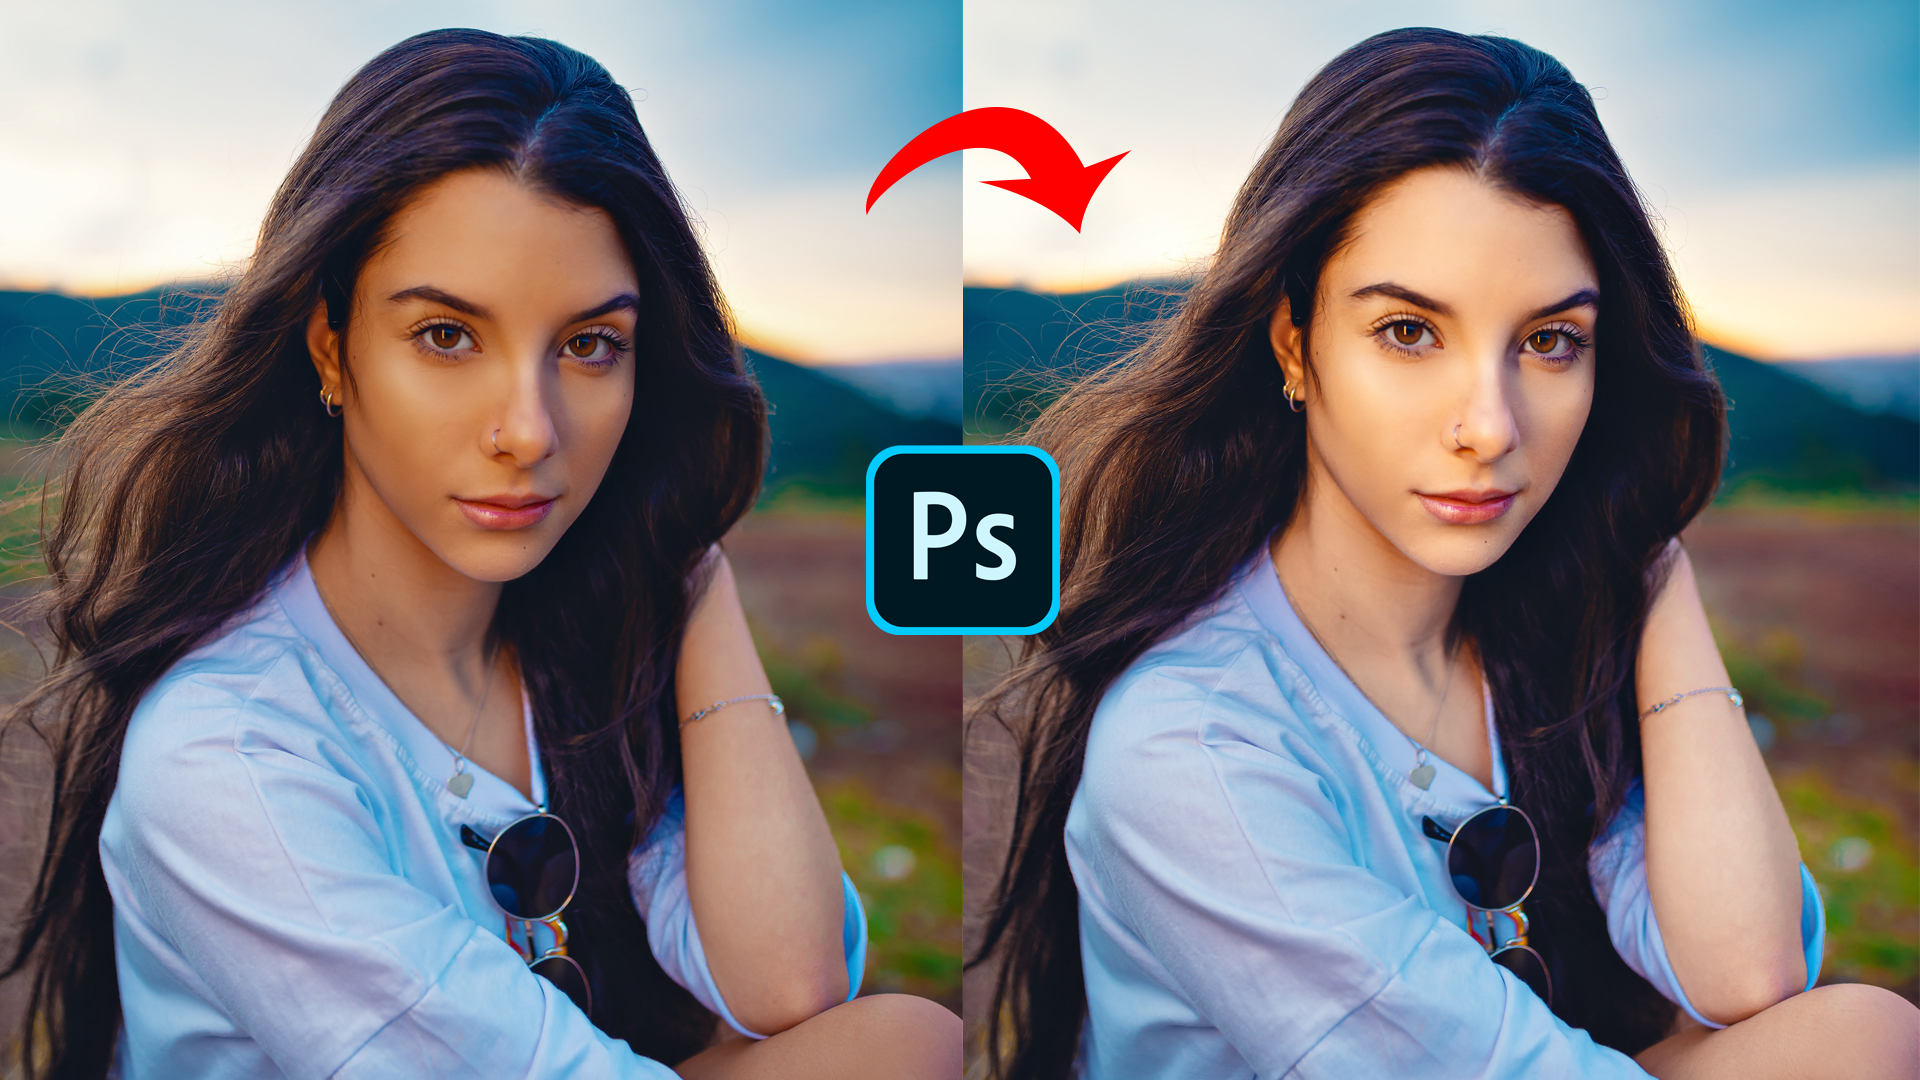
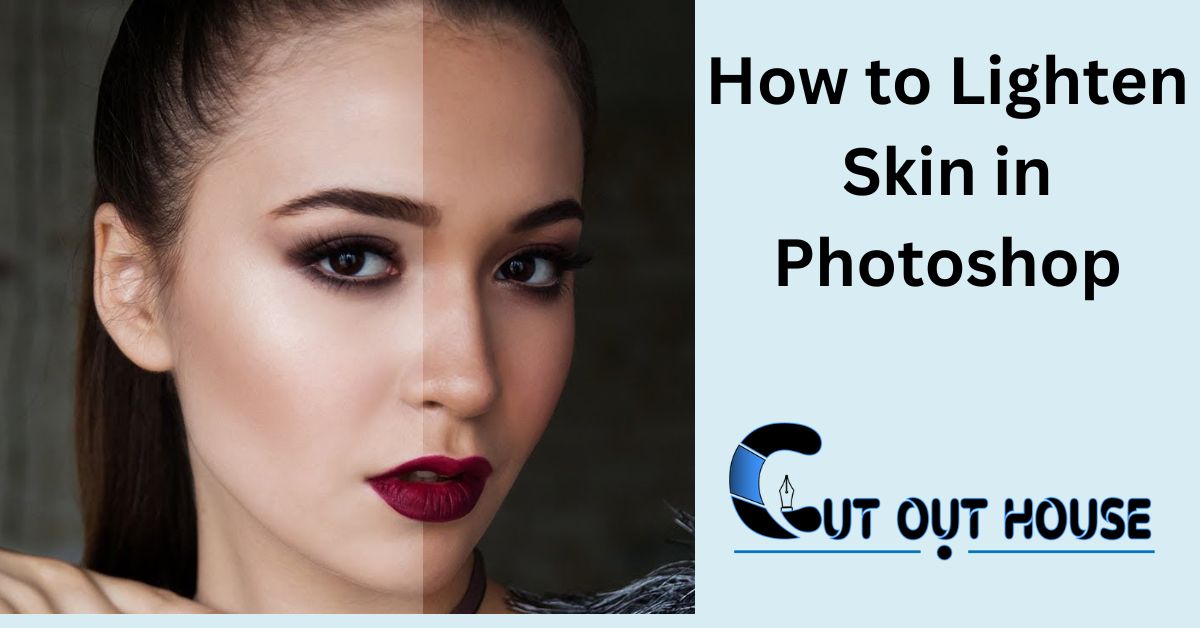
To lighten skin in Photoshop, use the “Liquify” tool to softly push and blend the skin for a natural look. Adjust the “Hue/Saturation” settings to reduce redness and increase brightness.
This technique can help create a natural and even skin tone, perfect for enhancing portraits and photos for digital use. Creating a perfect skin tone in Photoshop can significantly enhance the overall look of portraits and photos, providing a more polished and professional appearance.
By using various tools and adjustments in the program, it is possible to achieve a natural and even skin tone that looks realistic and appealing. Understanding the effects of different settings and techniques can enable you to create stunning images that capture the best features of your subjects. In this guide, we’ll delve into the process of effectively lightening skin in Photoshop to achieve a flawless and natural look.

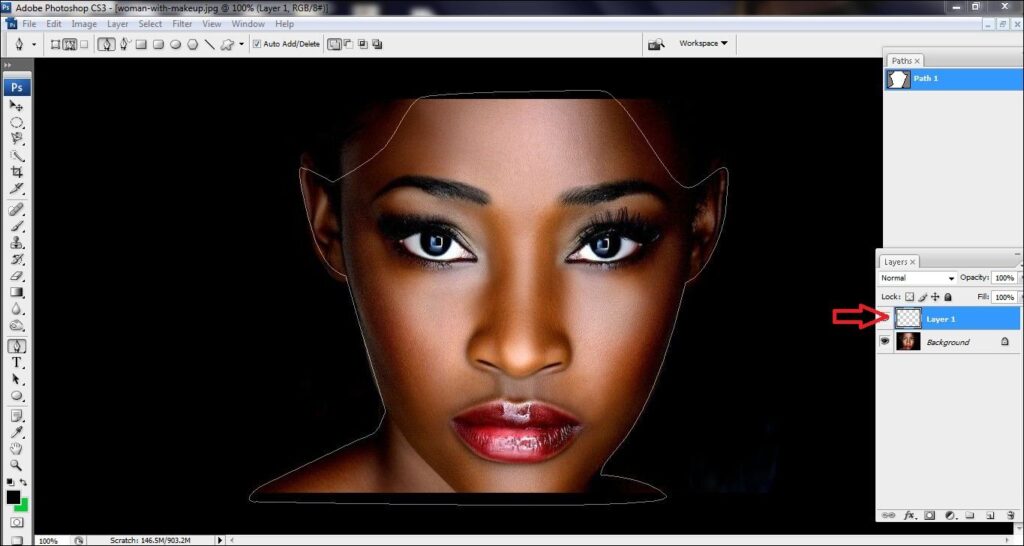
Credit: www.sandeepzcreation.com
Understanding Skin Lightening In Photoshop
When it comes to lightening skin in Photoshop, there are different approaches you can take. It’s important to select the right tools and techniques to achieve the desired results.
1. Adjustment Layers: Photoshop offers various adjustment layers like “Curves,” “Levels,” and “Selective Color” that can be used to lighten the skin tones. These adjustment layers allow you to control the brightness and contrast, thus achieving a more natural effect.
2. Dodge and Burn: The Dodge tool helps to brighten areas of the skin, while the Burn tool helps to darken areas. By using these tools selectively, you can adjust the lighting on the skin for a more even tone.
3. Frequency Separation: This technique involves separating the texture and color of the skin. By working on each separately, you can address any discoloration or uneven tones without losing the skin’s natural texture.
Remember to always work carefully and subtly, to avoid unrealistic results. With the right tools and techniques, you can achieve natural-looking skin lightening effects in Photoshop.
Preparing The Image For Skin Lightening
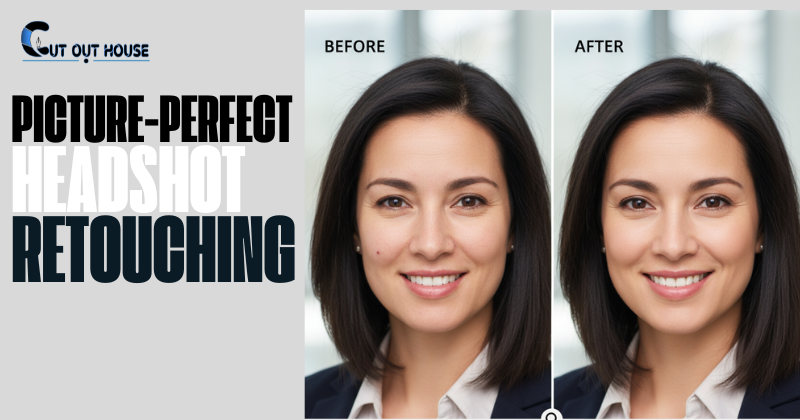
To lighten skin in Photoshop, start by preparing the image for skin lightening. Retouch and enhance the overall image by cleaning and smoothing the skin.
Applying Skin Lightening Techniques
Lightening skin in Photoshop can be achieved by adjusting levels and curves. Use the Dodge and Burn Tools to enhance highlights and shadows for a natural look. Additionally, utilizing the Healing Brush and Clone Stamp can help remove imperfections and blemishes. It’s important to balance skin tone while maintaining a realistic appearance. Skin lightening should be done subtly and carefully to avoid an unnatural effect.

Credit: fixtheretouch.com
Achieving Natural-looking Results
Achieving natural-looking results when lightening skin in Photoshop is crucial for creating a realistic and professional outcome. To avoid over-whitening the subject’s skin tone, it is essential to utilize blending techniques to seamlessly merge the lightened areas with the rest of the image. By carefully blending the lightened areas with the surrounding skin tones, you can prevent the unnatural and harsh appearance that often occurs with excessive brightening. Additionally, utilizing texture in the lightened areas helps to add depth and dimension, making the result more realistic. By applying a subtle texture to the lightened areas, such as using the grain filter or adding a soft overlay layer, you can achieve a more natural and cohesive look. Remember, the goal is to enhance the skin’s appearance without making it look artificial or overly bright. Keep these tips in mind to ensure a successful skin-lightening process in Photoshop.
Finishing Touches And Final Adjustments
To lighten skin in Photoshop, achieving the perfect balance of colors and tones is crucial. Start by selecting the Color Balance adjustment layer. Make subtle adjustments to the highlights, midtones, and shadows, while avoiding any extreme changes. This will ensure a natural-looking result.
Next, focus on adding highlights and shadows to enhance the overall depth and dimension of the skin. Create a new layer and set the blending mode to Soft Light. Use a soft brush with a low opacity to paint white on areas you want to highlight and black on areas you want to add shadow. Adjust the opacity to achieve a subtle effect.
Lastly, pay attention to the skin texture. Apply the High Pass Filter to a duplicate layer and set the blending mode to Overlay. Adjust the radius to enhance the skin details without overdoing it. Remember to always zoom in and out to check for any imperfections and make necessary touch-ups. With these finishing touches and final adjustments, you can lighten skin in Photoshop while retaining a natural and pleasing result.

Credit: effectphoto.blogspot.com
Frequently Asked Questions On How To Lighten Skin In Photoshop
How Can I Lighten Skin In Photoshop?
To lighten skin in Photoshop, open the image and duplicate the layer. Add a new adjustment layer by clicking on the “Create new fill or adjustment layer” button, and select “Curves” or “Levels”. Adjust the tones to lighten the skin.
Use the Brush tool and paint on the adjustment layer mask to target specific areas.
What Are The Benefits Of Lightening Skin In Photoshop?
Lightening skin in Photoshop can improve the overall appearance of a photo by enhancing skin tone, reducing blemishes, and creating a more even complexion. It allows for subtle adjustments without affecting the original image, giving you control over the final result.
Can I Lighten Only Specific Areas Of The Skin In Photoshop?
Yes, you can lighten specific areas of the skin in Photoshop by using adjustment layers and masks. Create a new adjustment layer and target the areas you want to lighten by painting on the layer mask. This technique allows for precise control over the areas being lightened, ensuring a natural and seamless result.
Conclusion
To achieve a lighter skin tone in your photos, Photoshop offers a range of effective tools and techniques. By adjusting the brightness and contrast, using the dodge and burn tools, and making use of layer masks, you can easily enhance the appearance of your skin.
Remember to be subtle and maintain a natural look. With these methods at your disposal, you can now confidently edit your photos and achieve the desired results. Happy editing!


