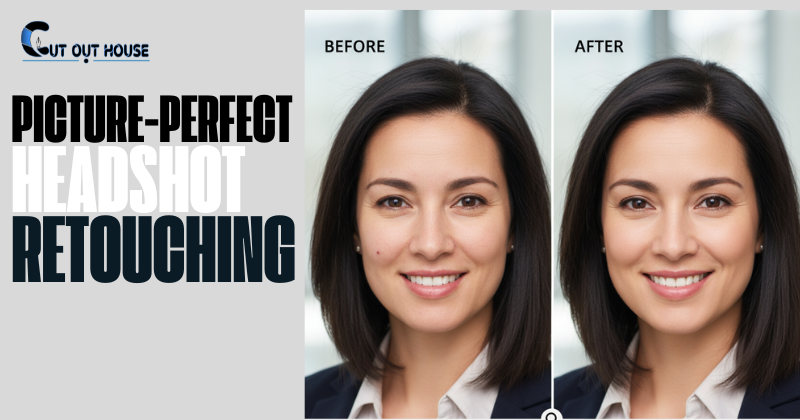
Investigating the immense editing capability of the Snapseed cell phone photo editing application.
Snapseed (available for iOS and Android) is still the best phone camera editing application for serious photographers. Its enormous assortment of devices and stunts stays as able and helpful today as anyone might think possible. In the event that you’re putting resources into one of the most mind-blowing PDAs for photography, or looking for a spending plan camera telephone. Snapseed is the editing application for you.
A long ways past a single tick channels and fakery, it’s a significant photograph manager with striking imaginative impacts and strong altering instruments. These reach from the natural alters like yield and turn to more top to bottom methods like bends change. Snapseed is additionally exceptionally clear and very much intended for contact control. Even better, Snapseed is free, without any strings.
Note that, despite the fact that it’s a Google application, it incorporates completely well with Apple Photographs (basically send off Snapseed and pick the photograph to alter from your Library). You can apply a solitary impact or many, and save your #1 looks as preset impacts to be used on and on.
Where to begin with Snapseed?
A more in-depth look at Snapseed reveals remarkable editing capabilities. Before looking at other smart editing features, let’s start with curves editing. Bends changes can off-put to some as they are normally found in further developed work area photograph altering applications; however is very easy to utilize. Check it out and you will before long have a vibe for it. My book, Smart Phone, Smart Photo Editing, which is available at all good bookstores, has more in-depth advice.
Snapseed bends: the essentials
The Bends apparatus is used to change tint, brilliance, differentiation, features and shadows in your photographs. This is basically accomplished by dragging blue dots, or nodes, along a line: down for a decrease and up for an increase. When compared to the Tune image tool’s contrast slider, this extremely precise editing method provides significantly more adjustment control. Anyone who has ever edited photos on a computer will be familiar with curves, but since smartphone users are still learning the jargon, we will begin with the fundamentals.
Opening the device, as opposed to finding a bend as the name proposes, there is rather a straight corner to corner line from base left to upper right spread out in a square box. This line, frequently alluded to as the difference bend, addresses the scope of brilliance and shadow in pictures. Beneath it is the histogram diagram, which lets us know how the light data is conveyed in the photograph.
The center components are:
- The black point is represented by the existing node at the bottom left of the line.
- The current hub at the upper right addresses the white point.
- The shadows are represented by the bottom half of the line.
- The center segment of the line addresses the midtones.
- The highlights are represented by the top half of the line.
- Changes in the curve’s shape can be made by adding nodes to it; and the photo’s brightness and contrast.
Snapseed offers a determination of preset bends changes. Take a look at these to learn more about what they can do and when you might want to use them. To further manipulate the presets, additional nodes can be added by touching any point on the line.
Also as the presets, bends can be changed physically by tapping the round symbol at the base left. This reveals the various options for adjusting the curve: RGB, Red, Green, Blue, Luminance. The default choice is the RGB curve. All of the colors in an image are simultaneously brightened or darkened by raising or lowering this curve. Decide to build the gentility or murkiness of each tone separately by utilizing the Red, Green and Blue symbol choices:
To get more red hues, raise the red curve above the diagonal median line.
- To increase the cyan (blue/green) hues, drag the red curve down below the diagonal median line.
- To get more green hues, raise the green curve above the diagonal median.
- Increase the magenta (purple/pink) hues by dragging the green curve below the diagonal median line.
- To enhance the blue hues, raise the blue curve above the diagonal median line.
- Drag the blue bend down underneath the inclining middle line to expand the yellow tints.
All colors’ brightness is affected simultaneously by luminance; For each of the colors, RGB has distinct effects on the black and white points. Raising the luminance bend builds the tints’ gentility.
The hues become darker when you drag the luminance curve down.
By and by, you may not need of the entirety of the abovementioned. It’s best to start by modifying only the luminance curve. As you get more experience, try experimenting with individual RGB channels and using the list as a guide.
Snapseed Curves editing To view the image’s effects, tap the eye icon in the bottom menu to hide the curve line and ribbon.
The bend is otherwise called a S bend, since when utilized accurately, the shape made seems to be the letter S.
Try not to drag the hubs to any limits (like straight lines, right points, racked or ventured designs) and abstain from contacting the roof or floor of the bends box. To work best, a bend ought to be delicate and adjusted.
Snapseed: Vignettes
Vignettes obscure the sides of a picture to zero in consideration on the primary subject. This is easy to “overcook,” like many Snapseed effects. By sliding your finger up and down, you can change the strength of the various vignette effects, and then you can change the strength by sliding your finger left or right.
If you have any desire to take a stab at something else, then the Bends device gives a more modern strategy to making a vignette than the Vignette instrument itself. The last option is restricted to a uniform circle while our Bends device safeguards the features in the picture and delivers the light and dim regions in any custom shape.
I wanted to use a vignette effect in this picture of a jackdaw to focus more on the bird. I added a new RGB curves layer and slid a node into the corner of the RGB line, just below the first intersection. By hauling this hub down, I expanded the shadows in the picture. Then I put a hub in the top convergence to hold the features set up and safeguard them in the picture.
At last, I covered in the layer in the alter stack, brushing the external edge at 25. Then, at that point, moving in towards the middle graduating the means by 25 all at once, for example 50, 75, the whole way to 100. This made it look more natural and prevented it from being hard.
This exceptionally unpretentious change is tied in with making mind-set and environment utilizing the lightest of contacts.
Vignettes are extremely compelling for upgrading sythesis and mind-set, and you can begin with the fundamental vignette device and continue on toward further developed bend and veiling methods.
Snapseed: Composite pictures
Another helpful device is Twofold Openness. My book, Advanced mobile phone Savvy Photograph Altering, incorporates two alters utilizing it. One demonstrates how to create an image that is greater than the sum of its parts by overlaying two distinct images of the same subject. The second tells the best way to make a stylised picture that will capitalize on your new bends abilities. However, select two images that complement one another well. Picture readiness is crucial for tidy them up and extend the foundations so they can be resized to overlay one another.
The most effective method to make a composite picture in Snapseed
The first pictures I utilized here were in variety so the primary occupation was to change over them, each in turn, to dark and white (utilize the Immersion slider inside the Tune picture apparatus, however really look at features, shadows and difference – once more, see my book for more). I opened the White Balance tool once the first image was in black and white.
Before I opened a curves layer and activated the red curve, I turned up the Temperature and Tint to +100 to make the image look redder. To make it even redder, I dragged this up and then selected hard contrast from the Curves presets to ensure that I had powerful shadows with which to work when the images were blended. At last, utilizing the Turn apparatus I flipped the picture to put the subject’s head on the left of the casing. I then exported it and saved it for later use.
Presently the subsequent picture. Once changed over completely to dark and white, I opened the bends layer once more. This time I hauled the green bend up and the red down to eliminate the red and upgrade the cyan which made the turquoise tone.
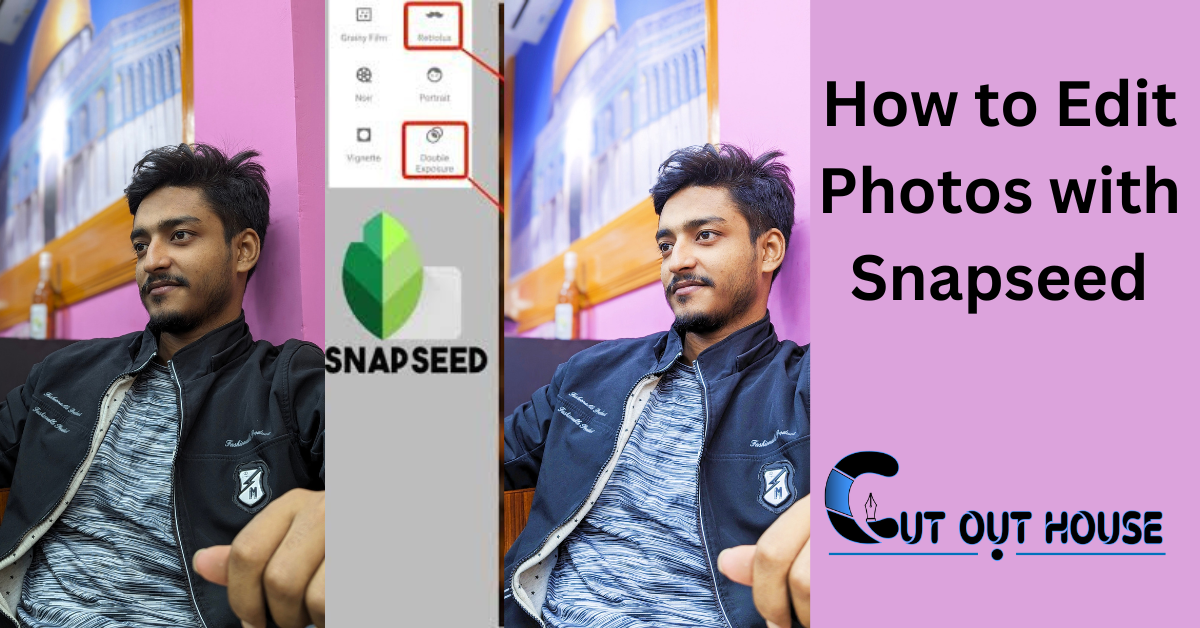
In the wake of utilizing the Grow apparatus to expand the casing, and the Recuperating device to eliminate foundation peculiarities brought about by doing that, I saved and sent out this second picture as well. I created an instant overlay that was ready for further editing by tapping the Double Exposure icon on the bottom screen menu after the red image was reopened.
The Sample symbol in the Twofold Openness device opens the mix strategy which permits you to investigate manners by which the two pictures are mixed.
The Fluid Drop symbol allows you to raise or lower obscurity so you have some control over the perceivability of the two pictures. You can likewise utilize your finger squeeze to resize the subsequent picture, move it around the casing or change its direction.
Keep in mind that only the second image can be moved. Static will be the first; so ensure you open them aligned correctly the picture you need to make.
Make your own Looks: Styles in Snapseed
Snapseed’s preset Looks (iOS) or Styles (Android) are ‘instant’ mixes of different alter stages that you can use to rapidly adjust the style of photographs. In any case, you can likewise make your own Looks/Styles, saving colossal measures of time. especially if you use more advanced tools like Curves to edit multiple images from the same shoot. By creating your own Looks and Styles, you can quickly apply the same changes to multiple images. This makes it simpler to choose the best of the bundle, and can likewise assist with laying out your own style.
Whenever you’ve wrapped up altering a photograph, select the Looks/Style menu. Swipe through the presets until you arrive at the Add (+) symbol toward the end. Tap on this, give your new Look/Style another name and afterward select Save. That’s all there was to it! Then, next time you open another photograph you can go directly to the Looks/Style menu and select your own one without accomplishing the work!
Conclusion
Simply clicking on the three small dots that are located bottom left, after the +, will allow you to manage your Looks/Style. You can view all of them, change their names, and delete any you no longer use.