Noise in photos can be a photographic artist’s most dreaded fear, frequently coming from shooting in low-light circumstances, utilizing high ISO settings, or in any event, during post-handling. Fortunately, Adobe Photoshop offers powerful apparatuses and techniques to actually decrease commotion in your pictures, empowering you to recuperate and improve your photographs. In this comprehensive aid, we’ll investigate different procedures for Noise Reduction in Photoshop, taking special care of photographic artists at all expertise levels.
Comprehending Image Noise
Before delving into noise reduction tools and techniques, it’s imperative to understand the concept of image noise. Noise manifests as random specks or grain in an image, akin to a sand-like texture. It can detract from an image’s overall quality, diminishing sharpness and clarity. Image noise can be classified into two primary categories:
- Luminance Noise: This type of noise primarily affects the brightness (luminance) of pixels in an image, creating a grainy appearance, especially in darker regions.
- Color Noise: Color noise disrupts the color information in your image, resulting in random specks of discolored pixels.
Step-by-Step Guide to Noise Reduction in Photoshop
Step 1: Import Your Image
Launch Adobe Photoshop and import the image you intend to work on. Navigate to “File” > “Open” and select your image from your device.
Step 2: Duplicate the Layer
Before applying any noise reduction, it’s wise to duplicate your image layer. Right-click on the background layer within the Layers panel and opt for “Duplicate Layer.” This allows you to work on a copy while preserving the original image.
Step 3: Select the Appropriate Noise Reduction Technique
- Luminance Noise Reduction:
- Filter Gallery Method:
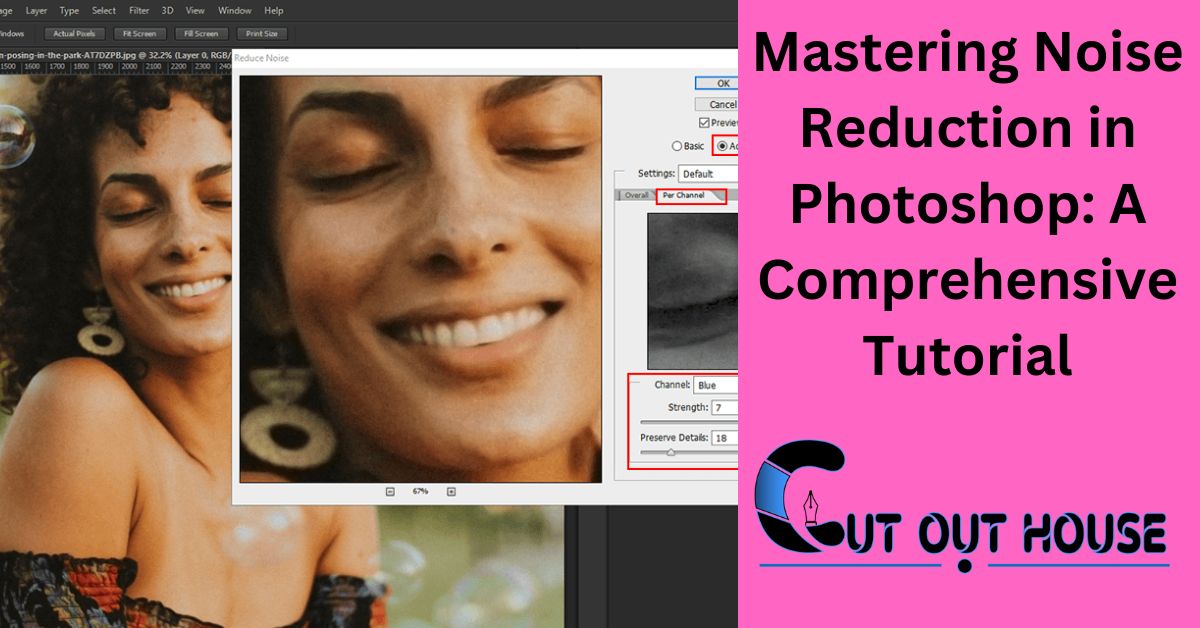
- Head to “Filter” > “Noise” > “Reduce Noise.”
- Adjust the sliders for “Strength,” “Preserve Details,” “Reduce Color Noise,” and “Sharpen Details” to fine-tune noise reduction. Observe real-time previews of the changes.
- Click “OK” when content with the results.
- Camera Raw Filter Method (for file formats supported by Camera Raw, e.g., RAW):
- Right-click on the duplicated layer and choose “Convert to Smart Object.”
- Navigate to “Filter” > “Camera Raw Filter.”
- Within the Camera Raw dialog, go to the “Detail” panel.
- Modify “Luminance” and “Color” sliders under “Noise Reduction” to diminish noise.
- Click “OK” to apply the adjustments.
- Color Noise Reduction:
- Filter Gallery Method:
- Access “Filter” > “Noise” > “Reduce Noise.”
- Concentrate on the “Reduce Color Noise” slider.
- Adjust the slider until color noise is minimized.
- Click “OK.”
Step 4: Refine with Layer Masks (Optional)
Should the noise reduction process inadvertently affect areas where you wish to retain fine details, layer masks can be employed to selectively apply noise reduction.
- Add a layer mask to the duplicated layer. Click the “Add Layer Mask” icon.
- Utilize a soft brush with a low opacity to paint black on the layer mask where you want to reveal the original, noise-intact details.
Step 5: Save Your Edited Image
Upon successfully reducing noise, save your edited image. Access “File” > “Save” or “File” > “Save As” to generate a fresh version of the image, preserving the original.
Additional Tips for Noise Reduction
- Leverage Plugins: Consider using third-party noise reduction plugins such as Nik Collection’s Dfine or Topaz DeNoise AI for advanced noise reduction capabilities.
- High-Pass Filter: In certain instances, applying a high-pass filter and adjusting blending modes can help mitigate noise while maintaining sharpness.
- Noise Reduction at the Source: Minimize noise at the point of capture by utilizing lower ISO settings and implementing appropriate exposure techniques.
- Batch Processing: When dealing with a series of photos exhibiting similar noise issues, you can apply noise reduction to multiple images simultaneously using Photoshop’s batch processing feature.
Conclusion
Noise reduction in Photoshop stands as a valuable skill for photographers aspiring to enhance their image quality. Whether confronted with luminance noise or color noise, Photoshop offers an array of tools and techniques to effectively reduce noise while preserving the critical details within your photos. Through practice and experimentation, you can refine your post-processing skills, yielding cleaner, more visually captivating images.


