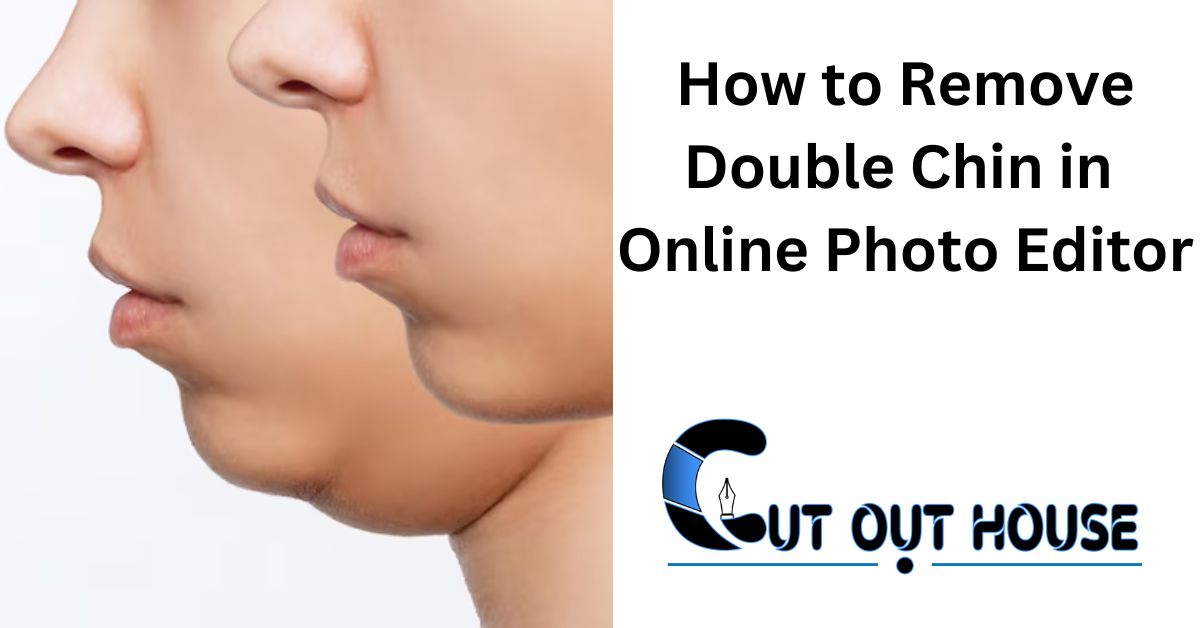
In the present outwardly determined web-based world, everybody needs to introduce the best version of themselves in photos. Learn how to Remove Double Chin with just a few clicks. Some of the time, this includes tending to minor defects like a twofold jaw. Because of the force of current innovation, you can undoubtedly take out a twofold jaw utilizing web photograph editors. In this point-by-point guide, we’ll make you through the cycle stride by step, assisting you with accomplishing a cleaner and sure appearance in your photos.
Step-by-Step Guide for Remove Double Chin
- Select the Right Web-based Photograph Proofreader
- Transfer Your Photograph
- Copy the Picture Layer
- Access the “Liquify” Tool
- Utilize the “Forward Warp” Tool
- Gently Refine the Chin Area
- Zoom In for Precision
- Enhance the Jawline
- Check Your Progress
- Save Your Edited Photo
Select the Right Web-based Photograph Proofreader
You will need a competent online photo editor to begin. There are various choices accessible, both free and paid, that can help you accomplish your ideal outcomes. A few notable decisions incorporate Adobe Photoshop Express, Pixlr, Fotor, and BeFunky. We will make use of the free online editor Photopea for this guide, which can be found at www.photopea.com.
Additional Key Points:
- Ensure the editor you choose aligns with your skill level, as some tools are more user-friendly than others.
- Consider the availability of online tutorials and support forums to assist you in mastering the editor of your choice.
Top photo editing service online | Best recommendation for photographers
Transfer Your Photograph
In the wake of picking your favored photograph supervisor, open it in your internet browser and transfer the photograph you need to upgrade. For the best results, make sure the photo is clear and well-lit.
Additional Key Points:
- Natural lighting is your best friend when taking the original photo; it can reduce the prominence of a double chin.
- Experiment with different angles while taking photos to minimize the appearance of a double chin from the start.
Copy the Picture Layer
When your photograph is transferred, copy the layer containing your picture. This is a vital stage as it permits you to deal with a duplicate while safeguarding the first in the event that you want to return changes.
Additional Key Points:
- Naming your layers appropriately can help you keep track of your edits and the original image.
- Saving your work in multiple versions can be a lifesaver if you need to backtrack.
Access the “Liquify” Tool
In Photopea, find the “Filter” menu and select “Liquify.” This tool enables you to make subtle adjustments to facial features.
Additional Key Points:
- Familiarize yourself with the various tools within the “Liquify” toolset, as they can be handy for other facial adjustments.
- Take your time to explore and practice using the “Liquify” tool on a sample image before applying it to your main photo.
Utilize the “Forward Warp” Tool
Within the Liquify workspace, choose the “Forward Warp” tool. Adjust the brush size to be slightly larger than the double chin area.
Additional Key Points:
- Adjust the pressure and brush size settings on your input device (e.g., mouse, tablet) for better control.
- Use a stylus or graphic tablet for finer and more precise adjustments.
Gently Refine the Chin Area
With the “Forward Warp” tool, gently push and refine the double chin area by moving it upward and inward. Exercise caution to maintain a natural look, avoiding excessive alterations.
Additional Key Points:
- Make subtle adjustments and avoid over-correction; realism is key.
- Consider the overall facial structure when refining the chin to maintain a balanced look.
Zoom In for Precision
Zoom in on the image to work with greater precision, ensuring that your edits seamlessly blend with the rest of your facial features.
Additional Key Points:
- Zoom in to 100% or more to focus on minute details.
- Use keyboard shortcuts or navigation tools for smooth zooming and panning.
Enhance the Jawline
Additional Key Points:
- Addressing the entire jawline can create a more harmonious appearance.
- Be mindful of the natural contours of your face when making adjustments.
For more convincing results, consider smoothing out any irregularities or lines in the jawline.
Check Your Progress
Intermittently flip the permeability of the copied layer on and off to survey the effect of your alters. This will help you figure out if you got the result you wanted.
Additional Key Points:
- Take breaks during the editing process to maintain a fresh perspective.
- Seek feedback from a trusted friend or colleague for an objective opinion on your edits.
Save Your Edited Photo
Once you’re satisfied with the changes, save your edited photo as a new file. Always keep the original image untouched for future reference.
Additional Key Points:
- Save your edited photo in multiple formats (e.g., JPEG, PNG) to ensure compatibility with various platforms.
- Organize your edited photos systematically to locate them easily in the future.
Conclusion
In today’s image-conscious society, online photo editors provide a readily accessible solution to address minor imperfections like a Remove Double Chin. Armed with the right tools and a careful approach, you can effortlessly enhance your photos to showcase the best version of yourself. It’s important to use these techniques with discretion, aiming to enhance your natural beauty while maintaining the authenticity of your images. Now, confidently share your beautifully edited photos with the world!